Table of Contents
With the help of automations, you no longer have to perform a data processing operation manually, but can have it performed automatically. The variety of data processing operations available - from mathematical calculations to creating links between values in different tables - opens up new possibilities for automating your work processes.
Perform a data processing operation by automation
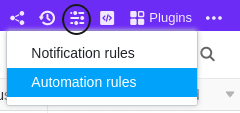
- In the base header, click and then click Automation Rules.
- Click Add Rule.
- Give the automation a name and specify the table and view in which it should be triggered.
- Define a trigger event that triggers the automation.
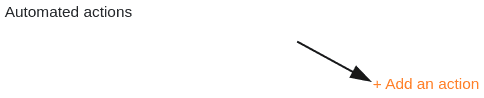
- Click Add Action and select Run Data Processing Operation as the automated action.
- Select any data processing operation.
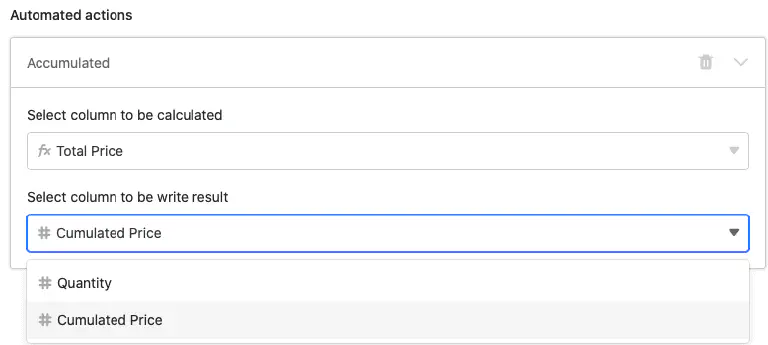
- Make the necessary settings (e.g. table, source column, result column) on the data processing operation.
- Confirm with Submit.
Creating the automation
After you have defined in which table and view the automation should be triggered, you define the trigger event . Currently, only a periodic trigger can result in a data processing operation. Therefore, you need to define a time when the automation should be triggered daily, weekly or monthly.

Then select Execute data processing operation as the automated action and choose the desired data processing operation .
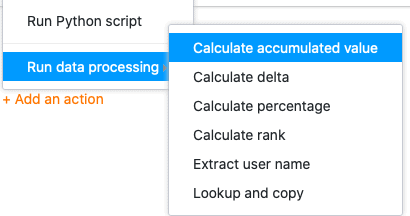
The following data processing operations are available for selection:
- Calculate cumulative values
- Calculate changes
- Calculate percentage share
- Calculate ranking
- Transfer user names
- Compare and copy
In the next step, make specific settings for the data processing operation that should be triggered by the automation. Depending on the selected operation, you will be asked to define tables and/or columns (e.g. source and result columns) that you want to use for the mathematical calculations or for establishing relationships between values in different tables.
Finally, confirm the automation with Submit to save it and have it executed at the defined trigger time, or click on Run now to have the automation executed immediately.

Example use case
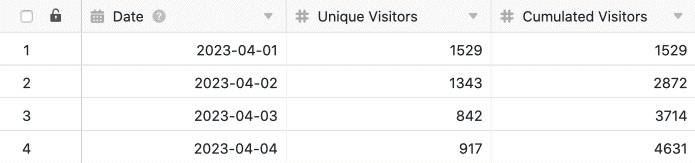
A concrete use case for this type of automation could, for example, occur if you want to record the number of daily visits to a website in your table. For this, you want to cumulate the visitor numbers of each individual day, which are recorded in an existing number column , from row to row in a new column.
Until now, calculating cumulative visitor numbers with a data processing operation was only possible manually. With a corresponding automation, it is now possible to have the cumulative visitor numbers calculated automatically every day at a fixed time.
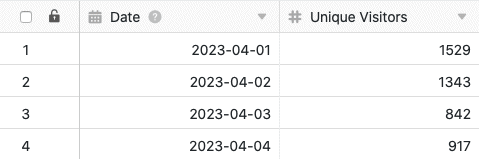
To implement this, you first need a table in which the various days are recorded in a date column and the visitor numbers to the website in a number column .
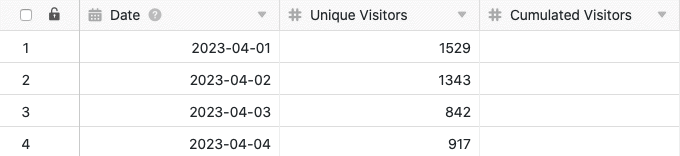
Then add a second number column to the table, in which the cumulative values will be calculated after each execution of the automation. The new, initially empty Cumulated Visitors column acts as the result column for the data processing operation, while the Unique Visitors column is the source column.
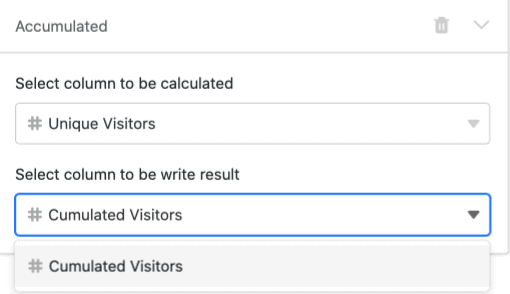
To create the automation, follow the steps described in the section Creating the automation . Also select the Unique Visitors column as the source column and the newly added Cumulated Visitors column as the result column.
After confirming the automation, SeaTable calculates the cumulative number of website visitors daily at the selected time and automatically writes it into the result column. Of course, the automatic calculation of cumulative values requires that the number of website visitors from the previous day is written into the Unique Visitors column every day, before the automation is executed.
Table before the automation is triggered:
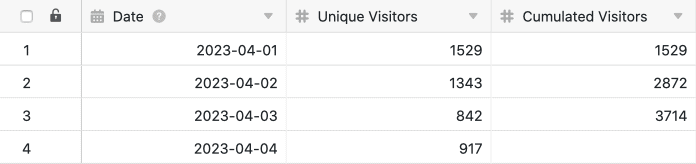
Table after the automation is triggered: