Table of Contents
With the help of automations, you no longer have to send e-mails manually to selected users, but can have them sent automatically. Simply define a corresponding automation for any table view.
Send emails via automation

- In the base header, click and then click Automation Rules.
- Click Add Rule.
- Name the automation and specify the table and view in which it should act.
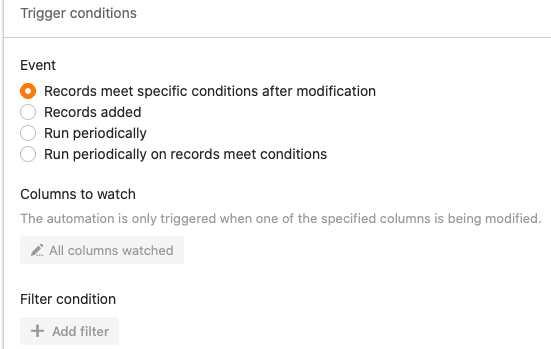
- Define a trigger event that triggers the automation.
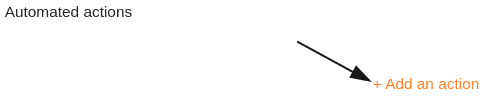
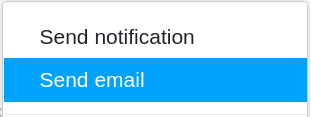
- Click Add Action and select Send Email as the automated action.
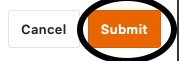
- Confirm with Submit.
Creating the automation
First define a trigger event for the automation.
Then select Send email as the automated action.
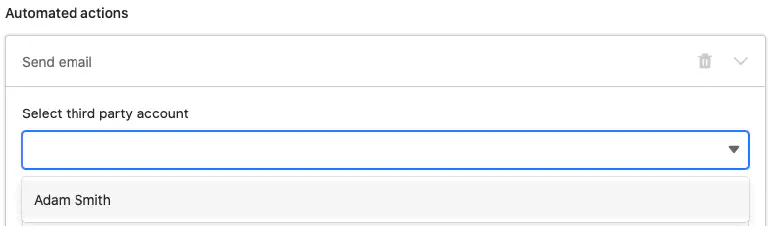
In the next step, first select an email account from which you want to send the emails. To be able to use your email account for sending, you must first add it as a third party in your SeaTable base. You can find detailed instructions for this step here .

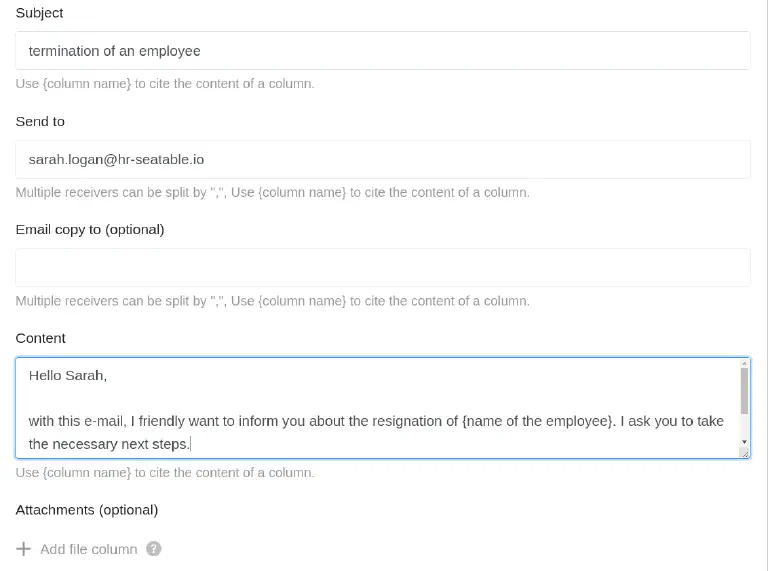
After selecting the email account, define the subject, recipient and content of the email. You can enter multiple email addresses separated by commas and in CC. You also have the option to add attachments from a file column .

Finally, confirm the automation by clicking on Submit.
Example use case
A concrete use case for this type of automation could, for example, occur if you work on the works council of a company. You want to automatically inform the HR department whenever you have approved the dismissal of an employee.
On your side, this can be implemented with a table in which various data of all employees of your company are maintained. In this context, you could record, among other things, the names of the employees, their employment status and the status of their salary payments.

With the help of an automation, SeaTable should now automatically send an email to the HR department as soon as you have approved an employee’s dismissal on the works council.
Creating the automation
First, give the automation a name and select both the table (employee list) and the view (employees ressort marketing) in which the automation should act.

As the trigger event of the automation, select the option Entries meet certain conditions after editing. To ensure that the emails are sent only when an employee has been dismissed, add as a filter condition that the entry in the status of employment column must be changed to terminated.

As the automated action, define the action Send email.
In the next step, select an email account from which you want to send the emails to the HR department. To be able to use your email account for sending, you must first add it as a third party in your SeaTable base. You can find detailed instructions for this step here .
After selecting your email account, define the subject, recipient and content of the emails. You can enter multiple email addresses separated by commas and in CC. Finally, you also have the option to add attachments from a file column .
Once you have finished the email to be sent, confirm the automation with Submit.
Testing the automation
If you then change the employment status of an employee to terminated in the selected table, the prepared email will automatically be sent to the HR department to inform them about the dismissal.
