Table of Contents
With the help of automations, you no longer have to make entries in other tables manually, but can have these steps performed automatically. The big advantage of this is that the trigger does not have to be in the same table as the action that is triggered.
Add entries to other tables via automation
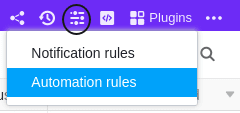
- In the base header, click and then click Automation Rules.
- Click Add Rule.
- Name the automation and specify the table and view in which it should be triggered.
- Define a trigger event that triggers the automation.
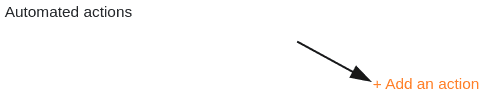
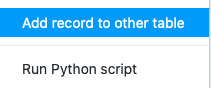
- Click Add action and select Add new entry in other table as automated action.
- Define the table where the entry should be inserted and the pre-filled fields.
- Confirm with Submit.
Creating the automation
Define a trigger event for automation after first defining in which table and view it will occur.

Then select Add new entry in other table as the automated action.
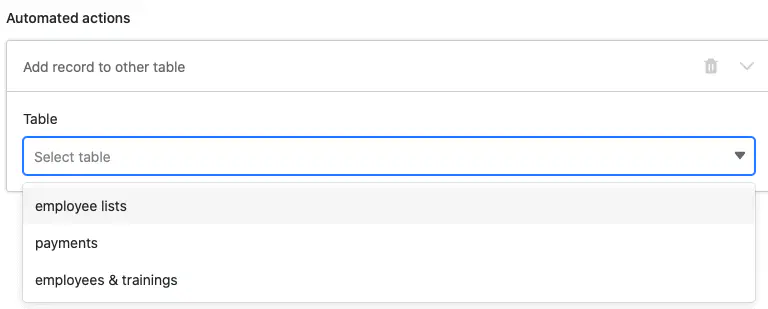
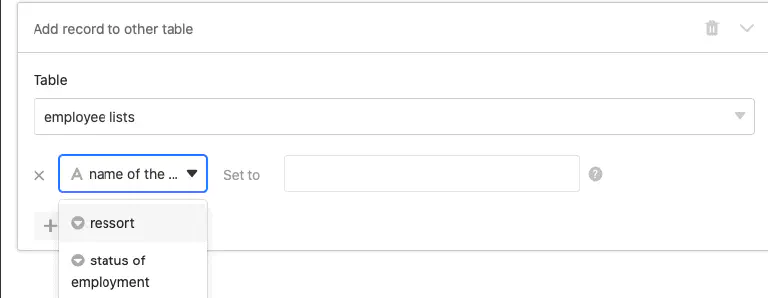
In the next step, select the table into which the entry should be added once the trigger fires.
Then click on Add field to select the columns for which you want to define preset values in the new entry.

Now select a corresponding column from the drop-down menu and define the pre-filled value in the input field. Depending on the selected column type , you have different options to choose from.
Finally, confirm the automation by clicking on Submit.
Example use case
A concrete use case for this type of automation could, for example, occur if, as a manager in a company, you are responsible for new employees joining your team. As part of the onboarding process, it might be defined that on the employee’s first day you have to request their salary payment and document the handover of a company car.
When you add the new employee to your table, you want to automatically inform the HR department that you have handed over the company car and that they can prepare the payroll for the first month. To do this, SeaTable should add a new entry to the HR department’s table.
On your side, this can be implemented with a table in which you maintain various employee data. In this context, you could record, among other things, the names of the employees or new hires, their department and their start date.

Now, with the help of an automation, a new entry should automatically be added to another table — used by the HR department to manage salary payments and company cars — whenever you add a new employee to your table.
Creating the automation
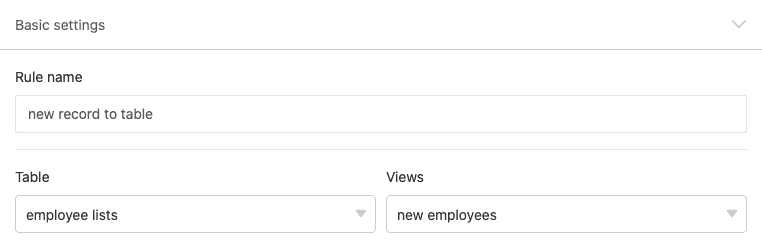
First, give the automation a name and select both the table (employee lists) and the view (new employees) in which the automation should be triggered.
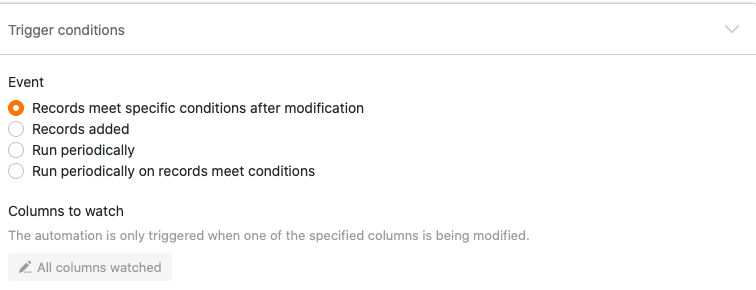
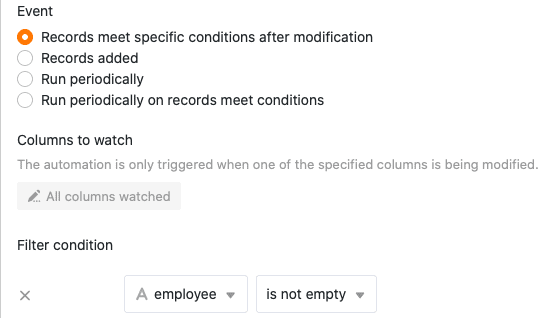
As the trigger event of the automation, select the option Entries meet certain conditions after editing.
To ensure that only new entries are added to the HR department’s table once you have entered the name of a new employee in your table, select as a filter condition that the “employee” column must not be empty after editing.
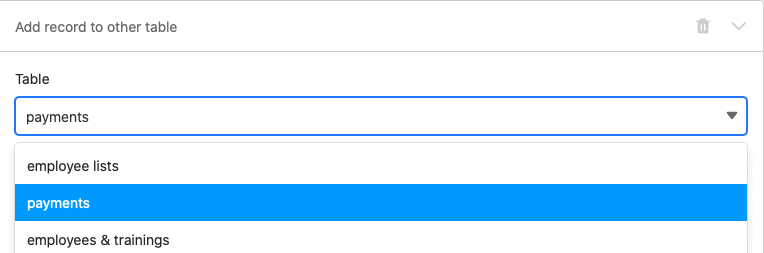
As the automated action, define the action Add new entry in other table.
In the next step, select the “Payments” table as the table into which an entry will be added once the automation is triggered.
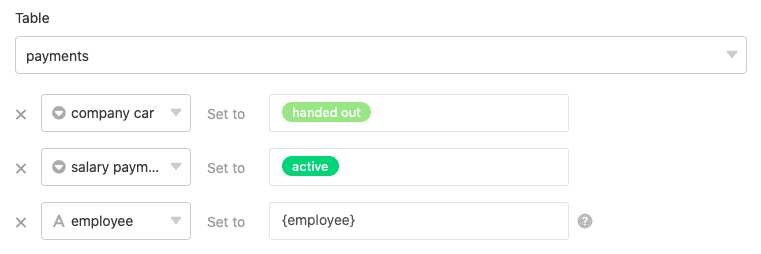
Then define the values with which certain fields should be pre-filled. To quote the name of a new employee in the new entry in the HR department’s table, write the name of the column in your table that contains this value — surrounded by curly braces — into the text field: {employee}
Testing the automation
If, after confirming the automation, you enter the name of a new employee into your table, …

… the defined entries will automatically be added to the HR department’s table.
