Table of Contents
With the help of automations, you no longer have to link entries in your tables manually, but can have these steps performed automatically. Simply define a corresponding automation for any table view.
Linking entries via automation
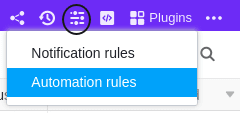
- In the base header, click and then click Automation Rules.
- Click Add Rule.
- Name the automation and specify the table and view in which it should act.
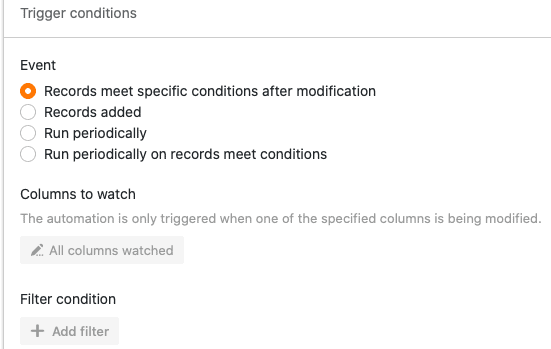
- Define a trigger event that triggers the automation.
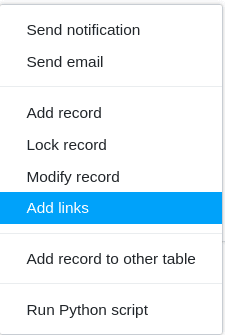
- Click Add Action and select Add Links as the automated action.
- Confirm with Submit.
Creating the automation
First define a trigger event for the automation.
Then select “Add links” as the automated action.

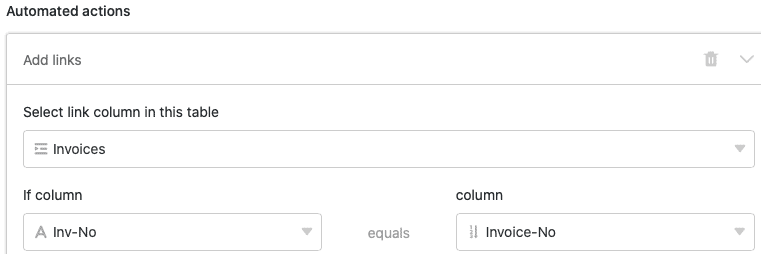
Finally, select a column that should be linked to the selected table and define a specific condition that must be met for the automation to be executed.
Finally, confirm the automation with a click on Submit.
Example use case
A concrete use case for this type of automation could, for example, occur when you work in the accounting department of a company. You want to maintain both a table with all payments received into a company account (Payments) and a table with all invoices that have to be paid to the company (Invoices).
In the Payments table, alongside the transaction numbers of the payments (P-0001 etc.), you already record the amounts of the various payments (column “Value”).

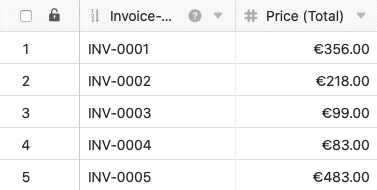
Your Invoices table, meanwhile, contains the invoice numbers (column “Invoice-No”) and the respective invoice amounts (column “Price Total”).
Using an automation, you now want to link the two tables Payments and Invoices so that you can automatically assign incoming payments to an invoice based on their invoice numbers.
Preparing the automation
Before you can create the automation, you first need to add two more columns to the Payments table. In the “Inv-No” column you manually enter the invoice numbers that belong to the respective payments — this is what will later trigger the automation. In the “Invoices” column, the linked entries from the Invoices table will be added automatically once the automation is in place.

In the Invoices table you also need one more column (“Collected Payments”) into which the linked entries from the Payments table are added when the automation runs.

After that, you can create an automation for the Payments table.
Creating the automation
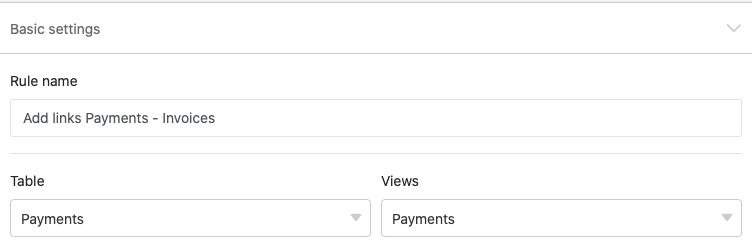
First, give the automation a name and select the Payments table together with the view of the same name in which the automation should act.
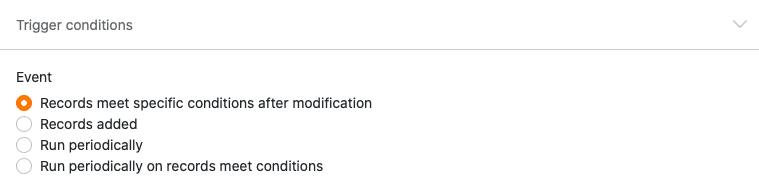
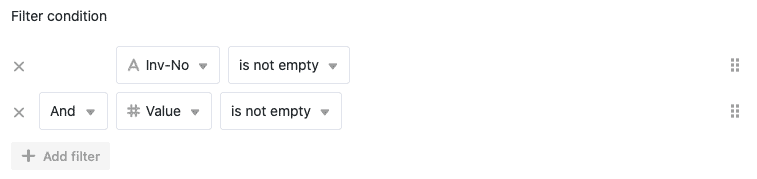
As the trigger event of the automation, select the option “Entries meet certain conditions after editing”. As a filter condition, specify that the two columns “Inv-No” and “Value” of the “Payments” table are not empty. This condition makes sense because the automation should be triggered as soon as there are entries in these columns.
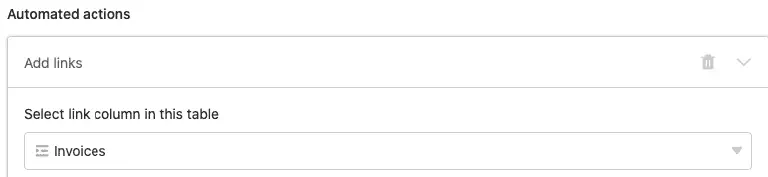
As the automated action of the automation, finally define the action “Add a linked column to the table”.
The column “Invoices” is the column into which the linked entries will be added when the automation runs.
In the last step of the definition of the automation, you should set another condition that must be met before a linked entry is added to the column. In this example it is defined that every entry added in the “Inv-No” column must also be found in the “Invoice-No” column of the Invoices table.
Specifically, this means that every invoice number you manually assign to a payment in the Payments table must already exist in the Invoices table so that the corresponding entries in both tables can be linked with each other.

Testing the automation
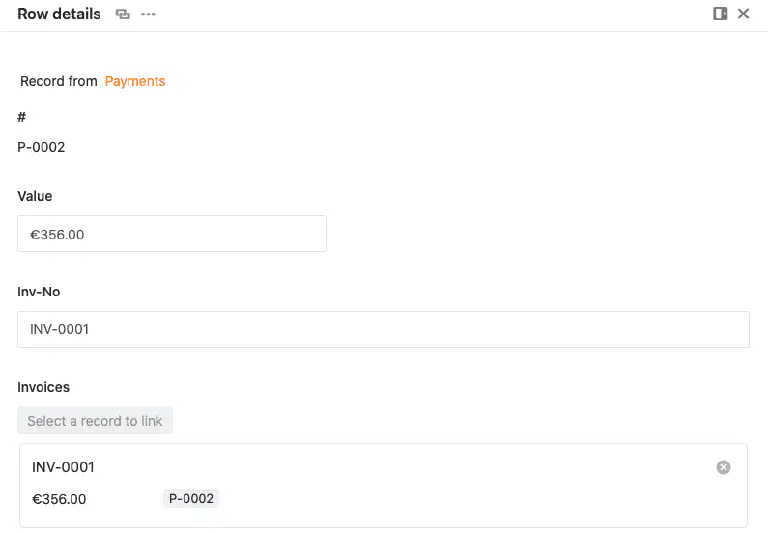
If you then enter an invoice number in the “Inv-No” column of the Payments table that is already present in the Invoices table, the corresponding linked entry is automatically added to the table in the “Invoices” column.

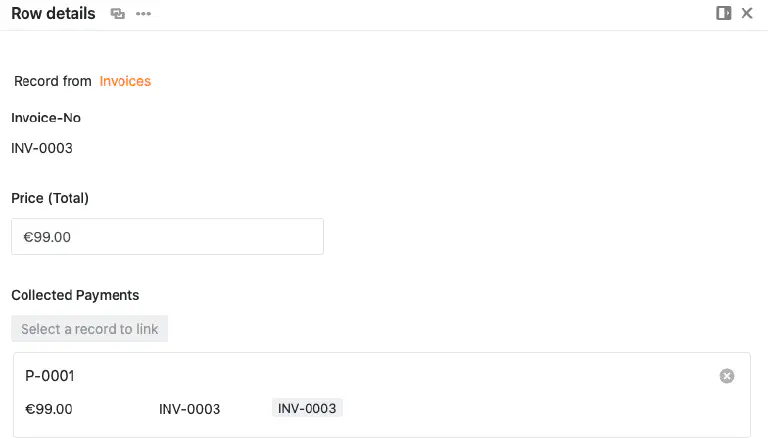
With a click on the linked entry, a window opens in which you can view the contents of the linked entry from the Invoices table.
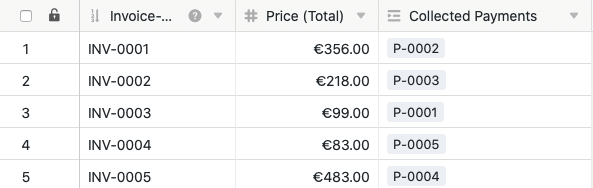
In addition, triggering the automation also adds the linked entries from the Payments table to the Invoices table. In the “Collected Payments” column, each invoice number is automatically assigned the corresponding payment number (P-000X). Thanks to the automation, you can therefore see the corresponding payment for each invoice and quickly determine which invoices are settled and which invoices are still open.
In this table too, a click on the linked entry opens a window in which you can view the contents of the linked entry from the Payments table.
Further helpful articles in the Automations section:
- Overview of automations
- How automations work
- Creating an automation
- Managing and grouping automations
- Stopping automations
- Deleting automations
- Display the execution log of an automation
- Automation triggers
- Automation actions
- Locking rows via automation