Table of Contents
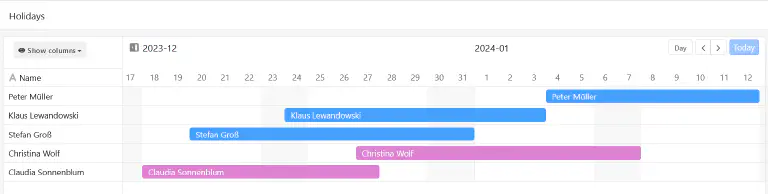
This page type allows you to display different time spans in the form of a timeline. As this data view reveals overlapping dates, vacation planning in a company, for example, could be a specific use case.
Page settings
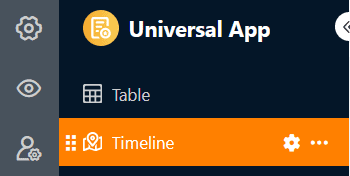
If you want to change the settings of a page, click on the corresponding cogwheel symbol in the navigation bar.
In the page settings, you can first set the graphic display of the timelines. To do this, select the row color or a single selection column, which determines the color of the blocks. You can also define a column for the labeling of the blocks.
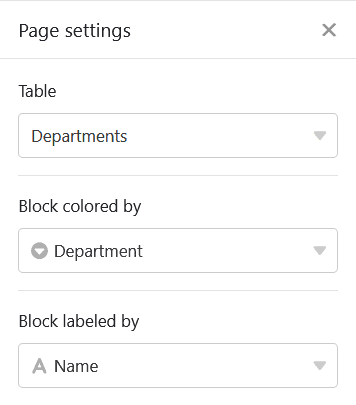
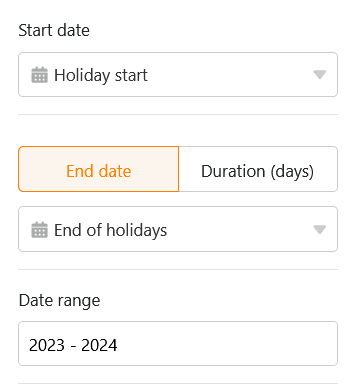
To define the period of the entries, you need a date column for the start date. For the end date, you can use another date column or a different numerical column – number, duration, or formula – that specifies the number of days. You can also select the time span, indicating how many years the timeline should cover.
Preset filters and hidden columns
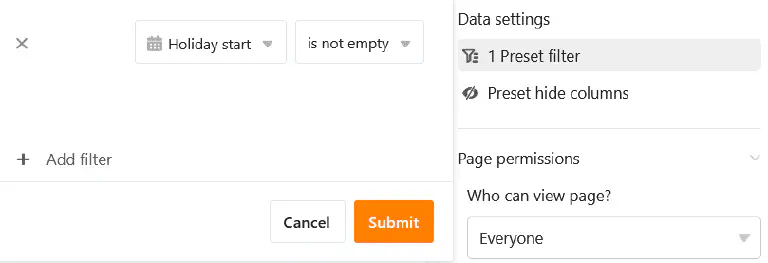
You can define preset filters and hidden columns to limit the data displayed for users. To do this, click on Add filter, select the desired column and condition and confirm with Submit.
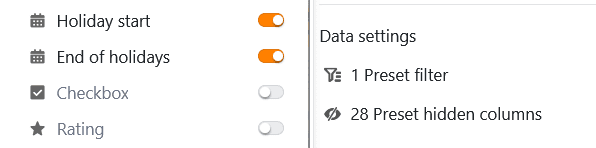
Users can view more information about an entry by clicking on a block on the timeline. Therefore, decide which data should be visible and show or hide the corresponding columns using the sliders.
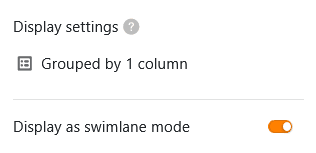
If you add a grouping, the bars can also be displayed in swimlanes. For non-overlapping activities, this view option results in a compact, clear display.
Edit or move an entry on the timeline
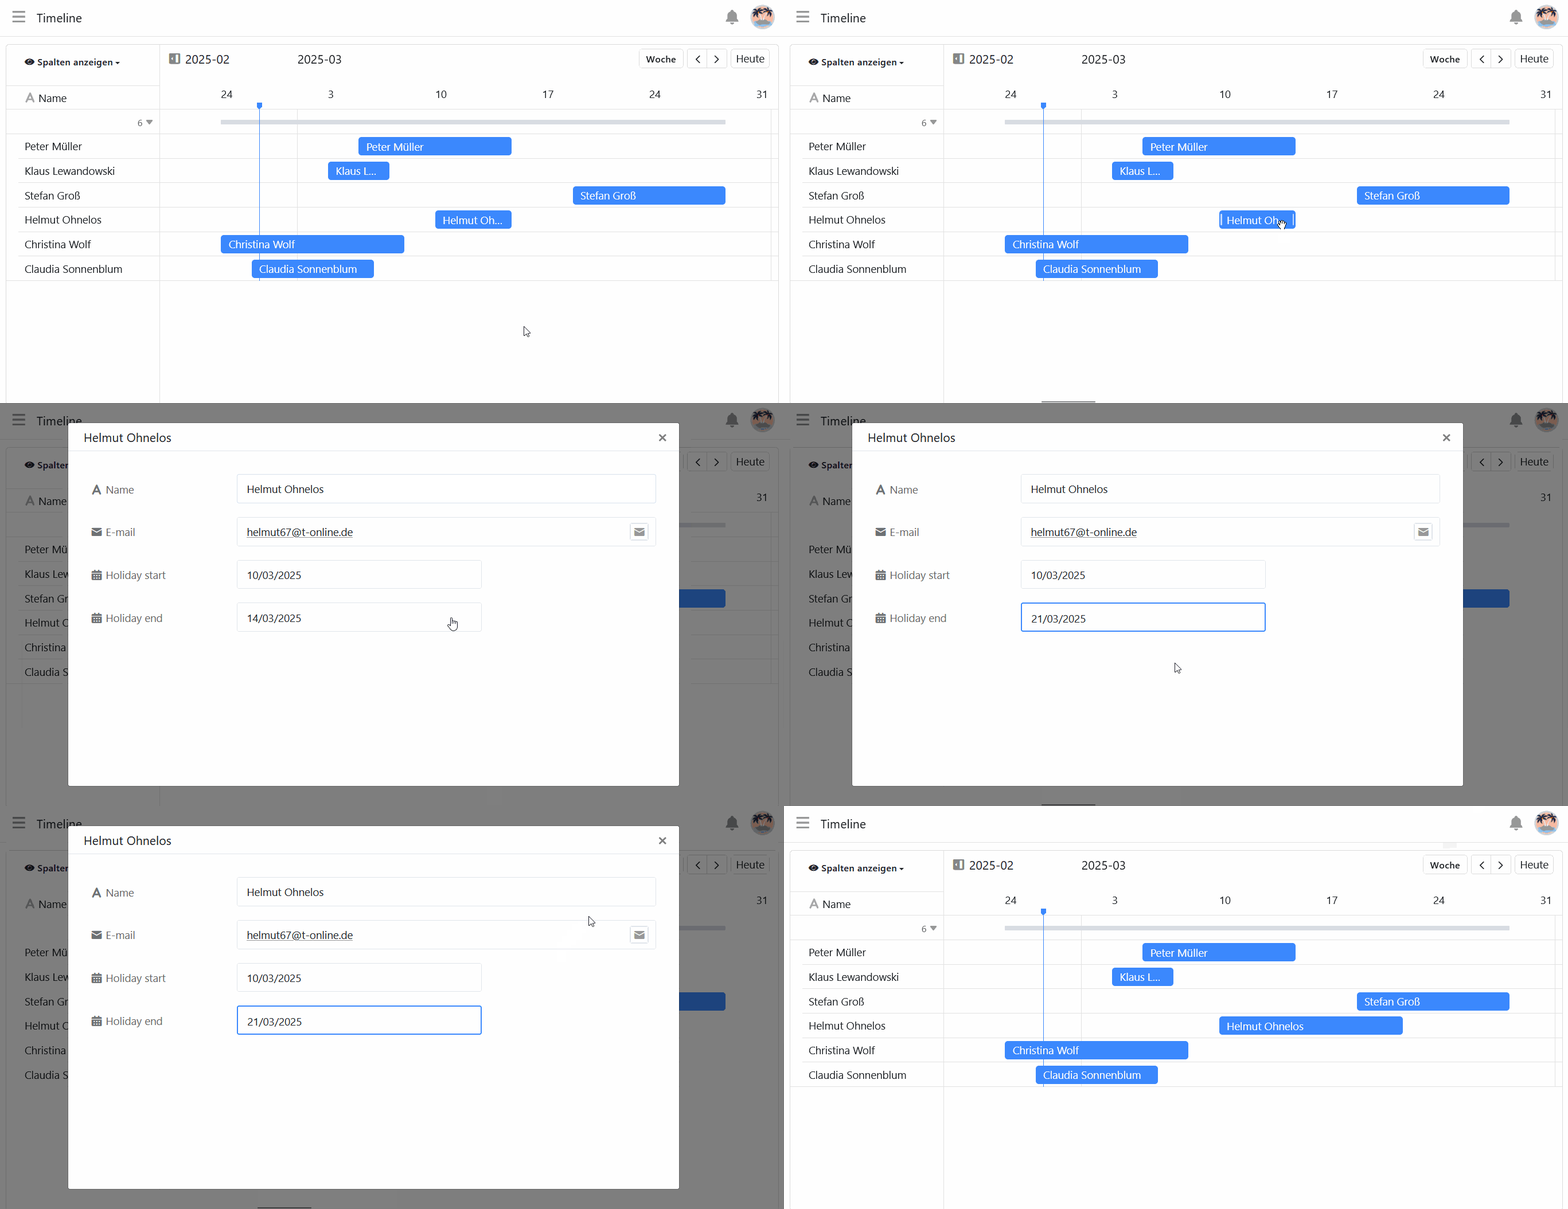
You can easily edit entries by clicking on a bar and making the desired changes in the row details that open.
You can also extend or shorten the time span directly on the timeline. To do this, grab the right or left edge of the bar and drag it to the desired date.
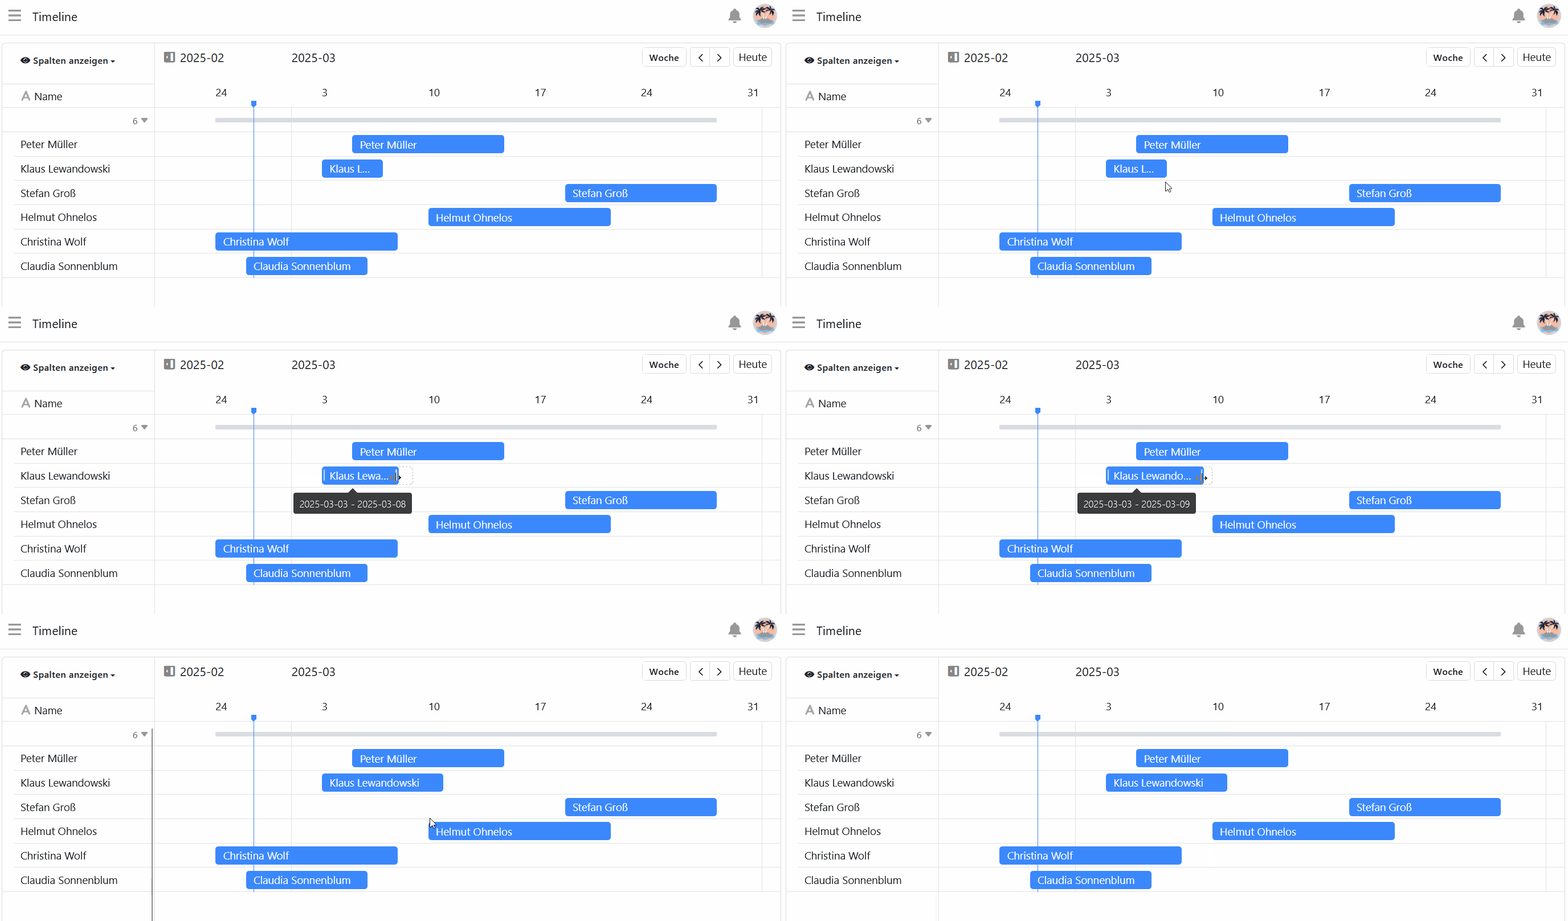
You can also conveniently move entries on the timeline using drag-and-drop. SeaTable automatically adjusts the respective date values.
Link column settings
In the settings for the link column, you can define for each linked table which data is visible and editable and which operations are permitted. Depending on the configuration, users may create new records in the linked table as well as link, modify and remove existing records. This allows you to control the respective permissions precisely.
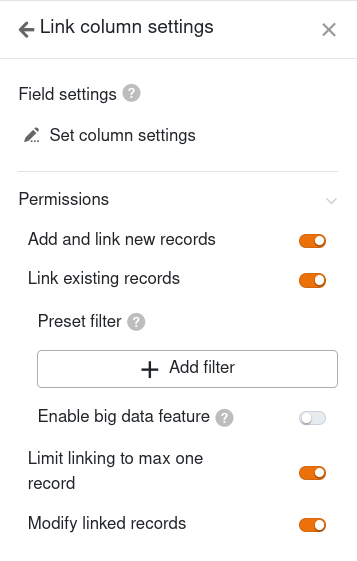
- Column settings for the linked table: Here you can define exactly to what extent the following authorizations apply to specific columns.
- Create and link new records: If you activate this slider, users can add new entries to the linked table. You can use the column settings to define which columns are visible and which columns are required, i.e. must be filled in.
- Link existing records: If you activate this slider, users can link existing entries in the linked table. You can use the column settings to define which columns are visible.
- Preset filters: If you add a filter here, only options that fulfill the filter conditions will be displayed when linking entries.
- Enable big data feature: If the big data function is activated, users can search through more than 20,000 data records, provided there are this many entries in the linked table.
- Modify linked records: If you activate this slider, users can edit existing records in the linked table. You can use the column settings to define which columns are editable.
- Remove existing records: This authorization lets you specify whether users are allowed to delete existing links.
- Limit links to a maximum of one row: If you activate this slider, users can only link to one row of the linked table in the cells of the link column.
Page authorizations
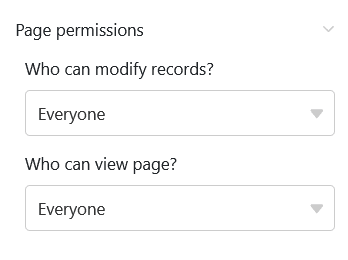
At the bottom of the page settings, you can restrict who can see the timeline page and edit entries. You cannot add or delete rows via timeline pages.