Table of Contents
Available with Enterprise
With the help of automations, you can automate processes. This not only saves you time, but also minimizes the number of human errors. The first step towards automated workflows is to create an automation.
Create an automation rule
- Open the Base in which you want to create an automation.

-
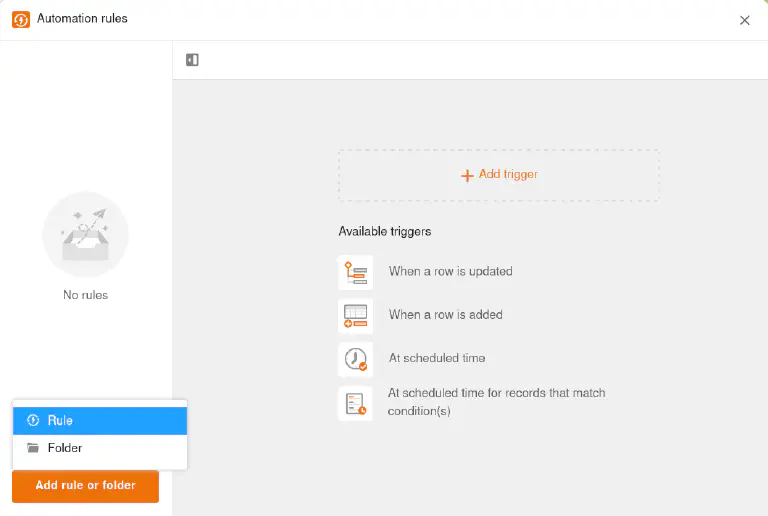
In the base header, click on and then on Automation rules.
-
Click on Add rule or folder and then on Rule.
-
Give the automation rule a name.
-
Create the desired automation by defining a trigger and various actions.
Create an automation rule in a folder
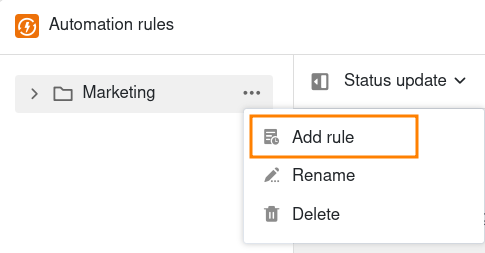
If you have already created a folder for automation rules, you can also create a rule directly in the folder. To do this, move the mouse pointer over the folder, click on the three dots and on Add rule.
Further automation steps
Administration
First, you can manage the new automation rule, for example rename, delete or move to a folder.
Triggers
In the next step, you define an event that serves as a trigger and initiates the automation. Here you also specify in which table and in which view the automation should take effect. The trigger can be that a row is added or fulfills certain conditions after a change. You can also set the automation to be triggered daily, weekly or monthly at a specific time.

Actions
Finally, define one or more actions that are triggered by the previously defined trigger event. Depending on the type of trigger, possible actions can include sending notifications and emails, adding or locking records or running an AI function.
