Table of Contents
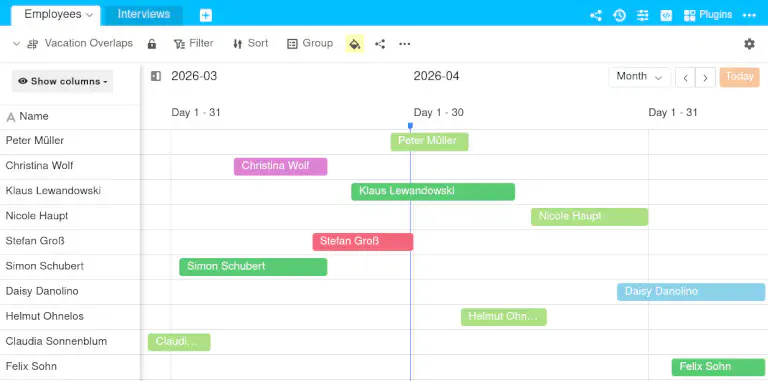
The Timeline view allows you to visualize different time periods on a timeline. This is very useful, for example, if you want to visualize the sequence of processes or see whether time periods overlap. Accordingly, you can use the timeline view for vacation planning , project plans or booking conference rooms, among other things.
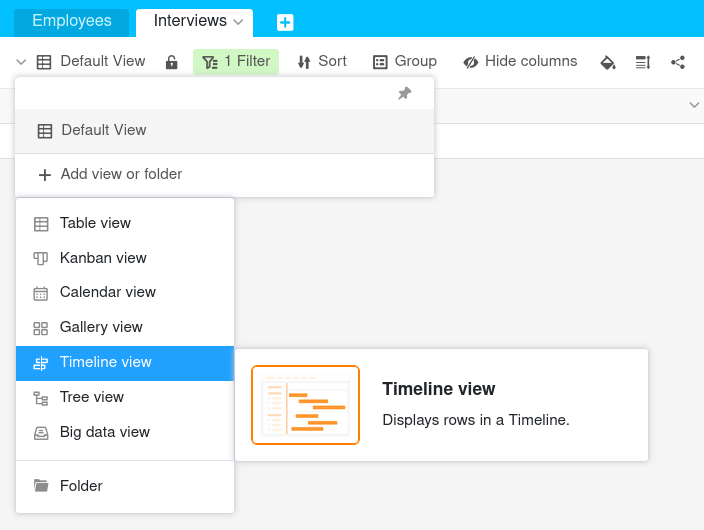
How to create a timeline view
- Click on the name of the current view.
- Click on Add view or folder and select the desired View type.
- Give the new view a name.
- Activate the slider if the new view should not be visible to everyone but private.
- Confirm with Submit.
- Then specify the Start and End date and the Date range that the timeline should cover in the settings. The new view is then generated automatically.
- In the top input field, select the column on which the block label depends.
View options
You can use the following options in a timeline view:
- Lock view
- Filter or sort by any value
- Row color
- Share view with others
- Print view
Display options
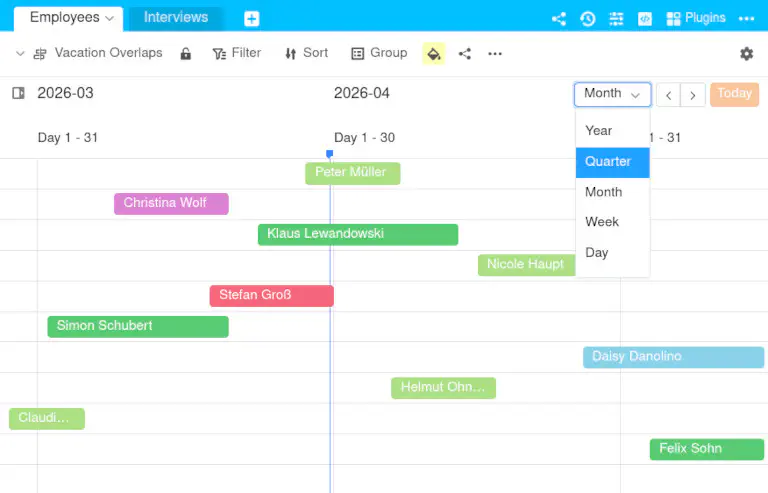
There are a total of 5 display options for the scale of the timeline: Year, Quarter, Month, Week and Day. You can easily switch between these options. Simply click on the corresponding option in the drop-down menu above the timeline.
Show and hide information
Click on Show columns to display more or less information by showing or hiding columns. Activate the slider of the respective columns to display more information from the data records in the timeline.
Edit data records in the timeline view
Double-click on a record and a window with the Row details will open. Make the desired adjustments to the data record. The changes are saved automatically when you close the window.
Extend, shorten or move time periods
To extend or shorten a period, hold down the mouse button and drag on the left or right edge of a record. If you want to move a period, hold down the left mouse button and move the entry by drag and drop in the desired direction. The corresponding values in the date columns will adjust automatically.