Table of Contents
The calendar view shows you data from a table in calendar form. You can get an overview of different time periods (year, month, week, day) or display appointments as agenda in list form.
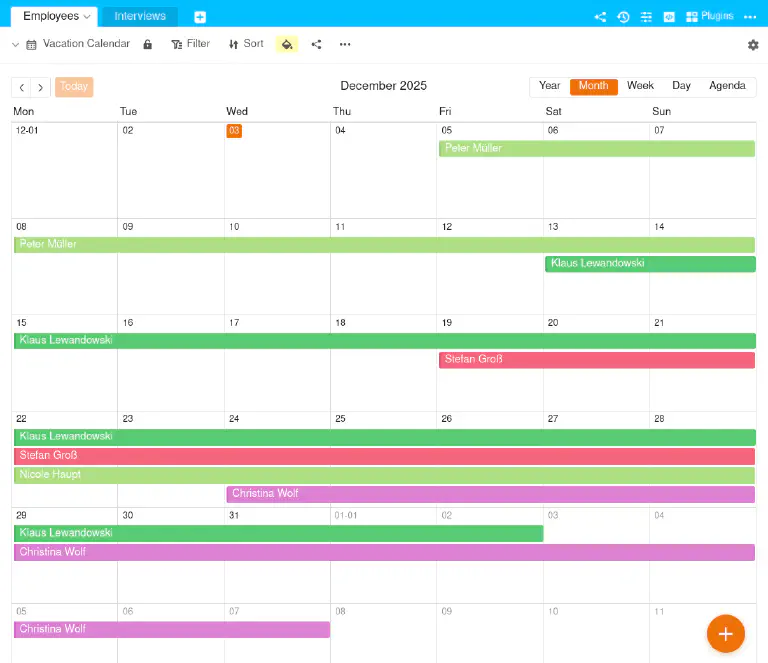
One example is the monthly overview in a vacation calendar:
To create a calendar view
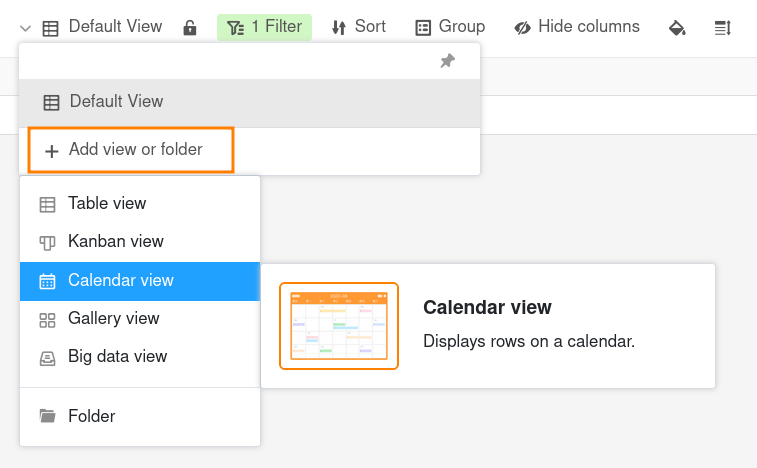
- Click on the Name of the current view.
- Click on Add view or folder and select the desired view type.
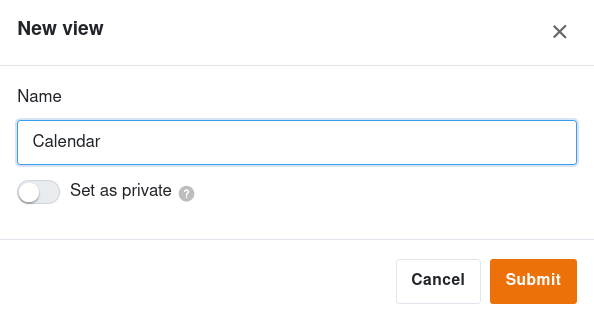
- Give the new view a name.
- Activate the slider if the new view should not be visible to everyone but private.
- Confirm with Submit.
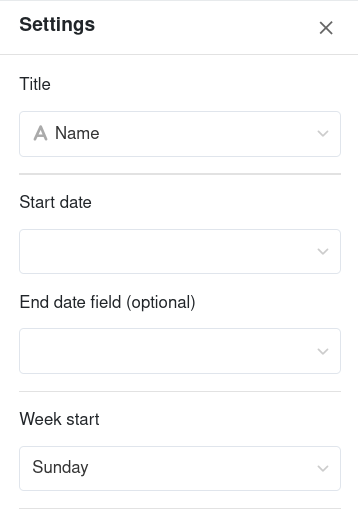
- In the Title field, enter the column with which you want to label the calendar entries.
- Specify which date column should be used for the Start date. The calendar view is then generated automatically.
- Optionally, you can specify a date or duration column for the End date, which defines the period of the calendar entries.
- Finally, select which day of the week should be used as the first day of the week.
If you want to change something later, click on the gearwheel icon in the top right-hand corner and adjust the settings.
View options
You can use the following options in a calendar view:
- Lock view
- Filter or sort by any value
- Row color
- Share view with others
- Print view
The display options in detail
There are a total of 5 display options: You can display appointments in a calendar yearly, monthly or weekly overview, in the daily planner or as agenda in list form.
You can easily switch between the five display options of the calendar view. Simply click on the corresponding option on the button above the calendar.

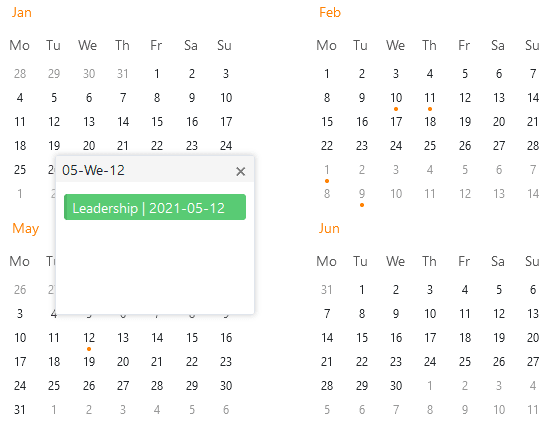
Yearly overview
Here you can see the year at a glance. The dot under a date shows you that there is an entry on that day. You also have the option of clicking on the date to call up the row details.
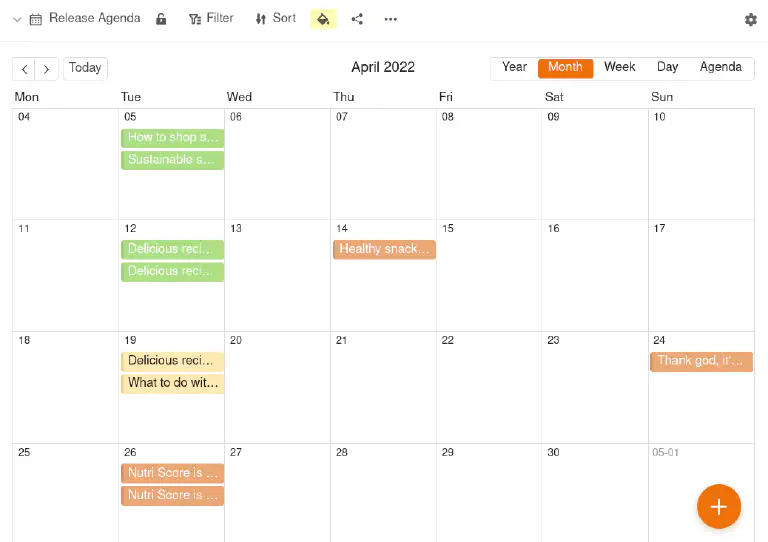
Monthly overview
This view gives you an overview of all the days in a month. You can also call up the row details here by clicking on one of the calendar entries.
Weekly overview
This display shows you the times on the vertical axis and the seven days of a week from left to right. You can also open the row details here by clicking on one of the dates.
Daily planner
The daily planner is particularly suitable if you want to have several appointments on one day on the screen. Just like the weekly overview, it shows you the times on the vertical axis. You can also open the row details here by clicking on one of the appointments.
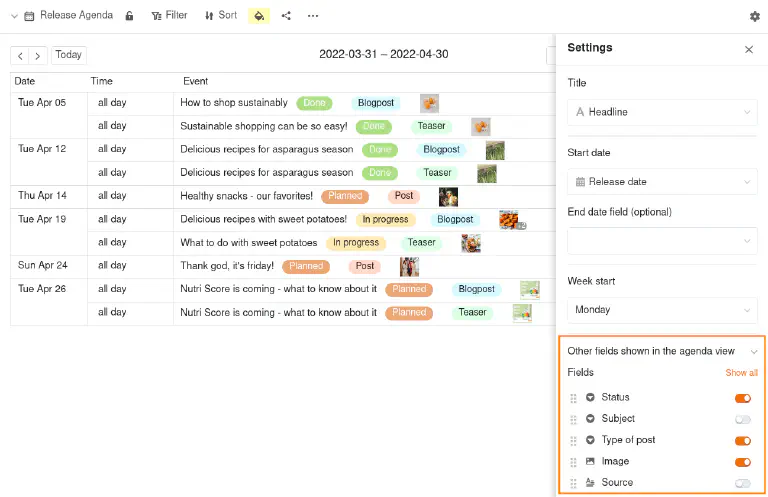
Agenda display
The Agenda lists all appointments within a month and offers you the option of viewing certain information on the appointments at a glance.
To do this, simply show the desired columns of the table in the settings of the calendar view – for example, topic, status and type of publication.
Add a new record in the calendar view
To add new records in the calendar view, you have various options.
1. Via the large plus symbol
Click on the orange circle with the plus symbol in the bottom right-hand corner. A new window will open. Create a new data record in the Row details and enter the desired data. The changes are saved automatically when you close the window.
2. Via a calendar field
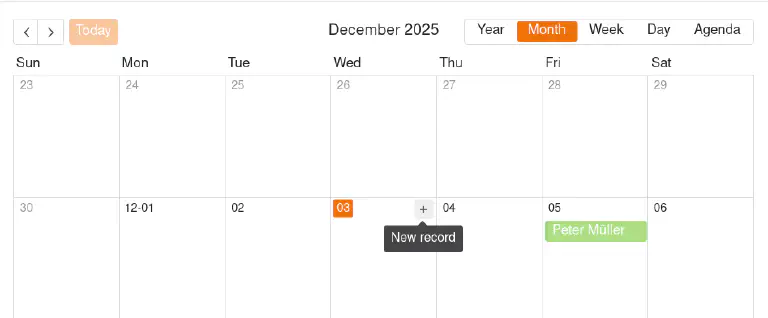
Move the mouse pointer over a field in the calendar and click on the Plus symbol that appears in the top right-hand corner. Create a new data record in the row details and enter the desired data. The changes are automatically saved when you close the window.
3. Double-click
If you double-click on a position in the calendar, the row details will also open. Otherwise, create the entry in the same way as with the other options.
4. Pull up dates
For this function, you need two date columns that can record times.
- Create two date columns for the start and end time and switch on the accurate to the minute option in each case.
- Open the Calendar view and select the Weekly or daily overview.
- In the Settings (accessible via the cogwheel icon ), select the two date columns for the calendar.
- In the calendar, click on the time at which the appointment should start, hold down the left mouse button and drag the box to the time at which the appointment should end.
Move appointments using drag-and-drop
You can easily move the entries in the calendar view by drag-and-drop. This automatically changes the corresponding values in the date columns of your table. This function is available for the monthly, weekly and daily overview.