Table of Contents
Automated actions represent one of the two essential components of automations. The actions are triggered by defined trigger events. Depending on the trigger , SeaTable can perform different automation actions. This article provides you with an overview of the different types of automated actions.
Available automation actions
The latest version of SeaTable offers a total of 15 different automation actions to choose from:
- Send notification
- Send app notification
- Send e-mail
- Add record
- Lock record
- Modify record
- Add links
- Add record to another table
- Run Python script
- Run AI
- Manage events in Google Calendar
- Run data processing
- Convert page to PDF
- Generate PDF from document and send
- Archive
Add, duplicate, move and delete automation actions
To add an action, click on the large button with the plus symbol and select the corresponding action from the drop-down list. Please note that the available actions differ depending on the trigger.

If you have already set up more complex actions, such as sending e-mails, data processing or AI functions, you can also duplicate these. Simply click on the three dots and then on Duplicate. This means you only have to make minor adjustments to these actions and saves you a lot of time.
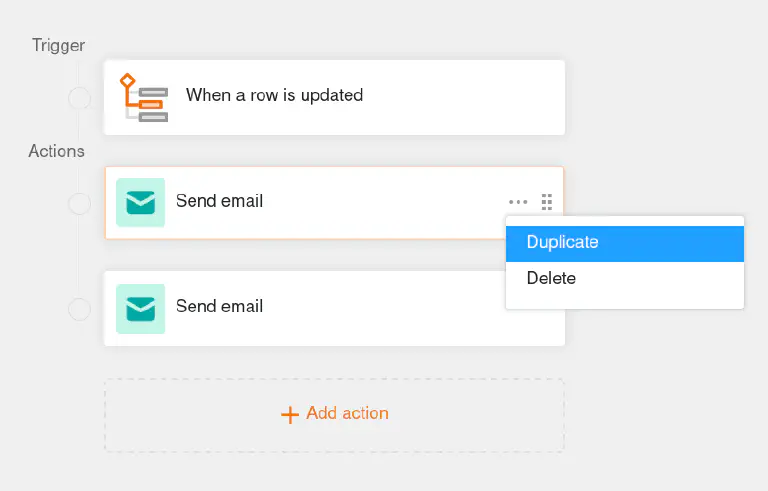
The order of the actions can be easily changed by drag-and-drop. Move the mouse pointer over an action box, hold down the left mouse button on the six-point drag area and move the action to the desired position. This allows you to flexibly adapt the automation sequence.
Of course, you can also delete actions that are no longer required. To do this, click on the three dots and then on Delete. Please note that the automated actions are removed immediately and permanently and cannot be restored.
Automation action: Send notification
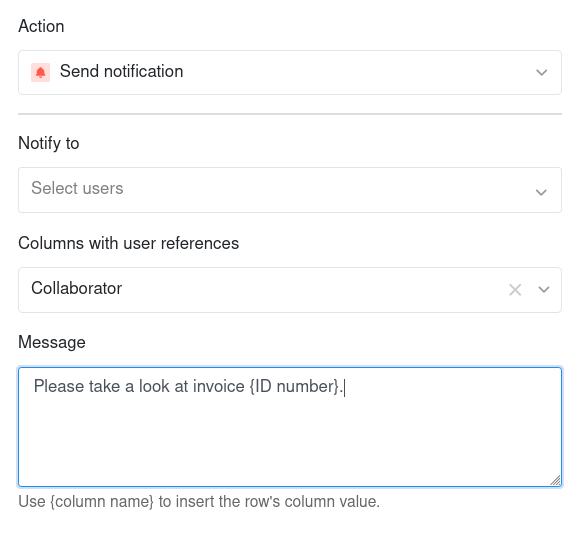
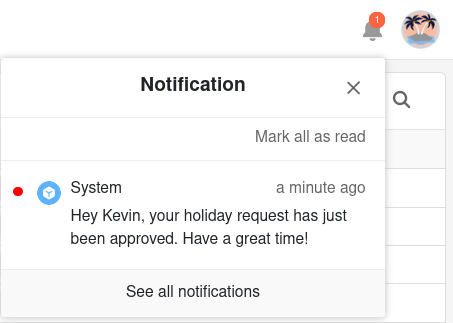
By defining “Send notification” as an automated action, you can set a notification to one or more users. The selected users will receive a notification each time the corresponding trigger is triggered. This automation action is available for all automation triggers.
You can edit the recipients and content of the notifications at any time in the settings of the action. For the recipients, you can specifically select individual users or users in a specific column of the type Collaborator , Creator or Last modifier . Write the desired message in the text field and work with column references in curly brackets to insert specific values.
Users can check their notifications via the bell icon next to their avatar in the top right corner.

The article Send notifications via automation goes through this automation using a specific use case.
Automation action: Send app notification
By defining “Send app notification” as an automated action, you can set a notification to one or more users of an app. The selected users will receive a notification in the app each time the corresponding trigger is triggered. This automation action is available for all automation triggers.
In the settings of the action, you can define which app and which recipients the notifications should be sent to. For the recipients, you can specifically select individual app users or notify users in a specific column of the type Collaborator, Creator or Last modifier. Write the desired content of the notification in the text field. Use column references in curly brackets to insert specific values.

The users of the respective app can check their notifications via the bell icon next to their avatar in the top right-hand corner.
Automation action: Send email
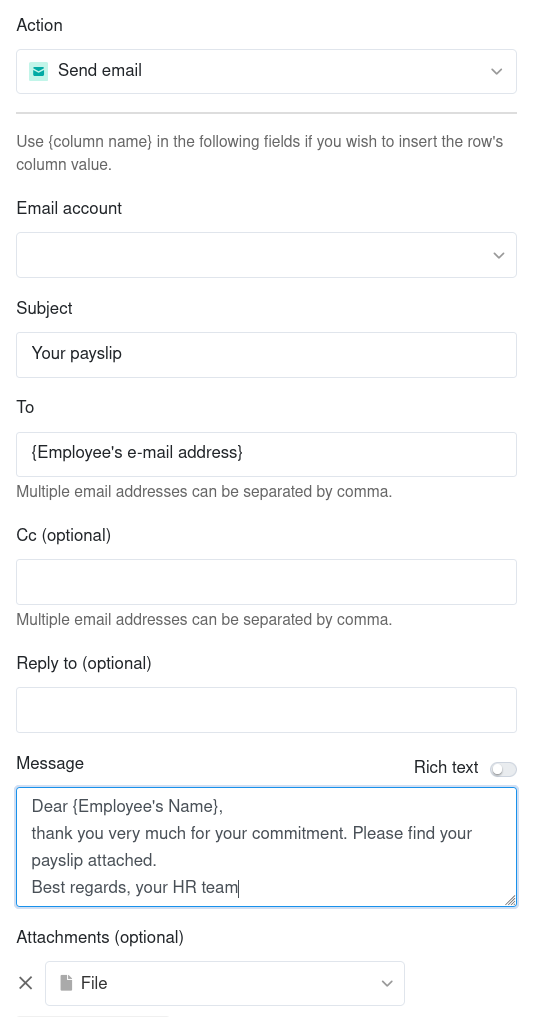
By defining “Send email” as an automated action, you can send predefined e-mails to one or more users. SeaTable sends an e-mail to each selected user as soon as the corresponding trigger is triggered. This automation action is available for all automation triggers.
You can edit the e-mail account, subject, recipient, message and attachments of the e-mail at any time in the settings of the action. Use column references in curly brackets to insert certain values into text fields.
The article Sending e-mails via automation runs through this automation using a specific use case.
Automation action: Add record
If you define “Add record” as an automated action, a new row is inserted into the table each time the corresponding trigger is triggered. You can define the exact values for each column individually in advance.
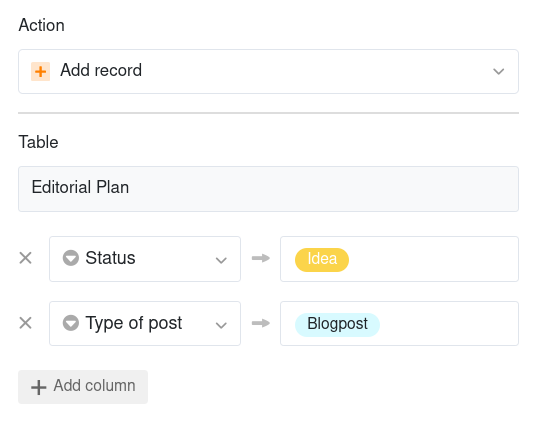
The “Add record” automation action is currently available for the following automation triggers:
- When a row is updated
- When a row is added
- At a scheduled time
The article Add rows via automation runs through this automation using a specific use case.
Automation action: Lock record
If you define “Lock record” as an automated action, the row that triggered the automation is locked for editing. You cannot make any further settings for this action – you configure the conditions for the row lock in the trigger settings. Please note that you cannot unlock locked rows without administrator rights.
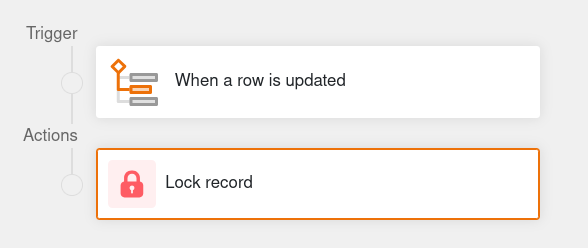

The “Lock record” automation action is currently available for the following automation triggers:
- When a row is updated
- When a row is added
- At a scheduled time for records that match conditions
The article Lock rows via automation runs through this automation using a specific use case.
Automation action: Modify record
If you select “Modify record” as an automated action, rows in the table are adjusted according to the previously defined settings after the trigger is triggered. You can define a value for each column that the rows automatically adopt after the modification.

The “Modify record” automation action is currently available for the following automation triggers:
- When a row is updated
- When a row is added
- At a scheduled time for records that match conditions
Automation action: Add links
If you select “Add links” as an automated action, a link to other records is created in the corresponding column when the trigger is triggered. In the settings of the action, you can specify exactly under which conditions which link is added to the table.

The “Add links” automation action is currently available for the following automation triggers:
- When a row is updated
- When a row is added
- At a scheduled time
The article Link records via automation runs through this automation using a specific use case.
Automation action: Add record to another table
If you select “Add record to another table” as an automated action, a row is created in another table when the trigger is triggered. In the settings of the action, you can define individual values for each column that will be assigned to the rows in the selected table as part of the automation. You can also select columns of the same type in the source table to copy row entries to the other table.

The “Add record to another table” automation action is currently available for the following automation triggers:
- When a row is updated
- When a row is added
The article Adding records to other tables via automation runs through this automation using a specific use case.
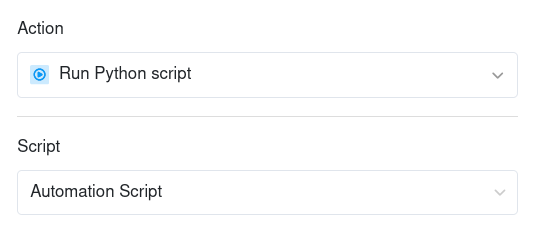
Automation action: Run Python script
If you select the execution of a Python script as an automated action, the trigger sets a previously defined Python script in motion. You can create or edit the script at any time in the script editor and then select it in the settings of the action.
The “Run Python script” automation action is currently available for the following automation triggers:
- When a row is updated
- When a row is added
- At a scheduled time
Automation action: Run AI
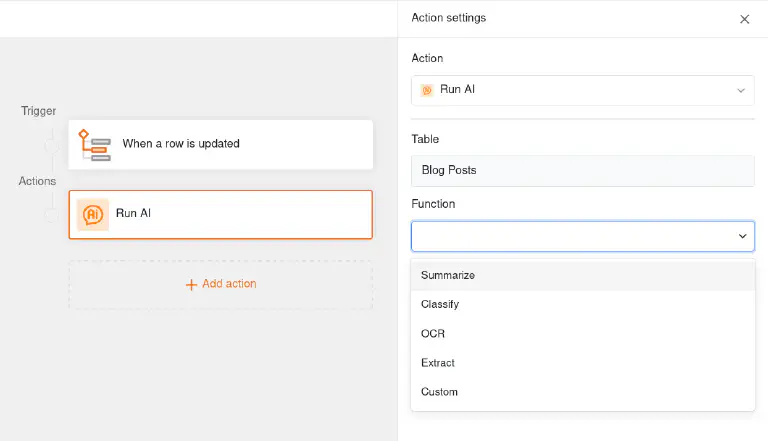
If you select the execution of an AI function as an automated action, the trigger calls up an AI model that executes a predefined action in the table. You can configure the exact action to be executed in the settings. Depending on the type of AI function, input columns, output columns and a prompt may be required.
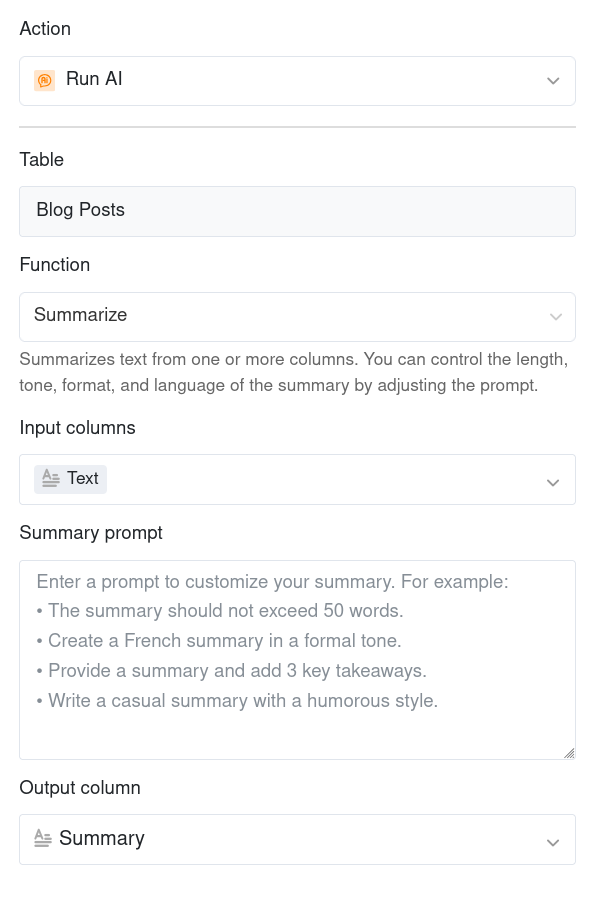
You can have the following AI functions executed with an automation:
- Summarize: Summarizes the text from one or more columns. You can control the length, tone, format and language of the summary by customizing the prompt.
- Classify: Classifies records from one or more columns. You can customize the categories and rules through the prompt. The result ends up in a single select or multiple select column .
- OCR: Extracts text from an image column . The recognized content is written to the result column of type Text or Long text .
- Extract: Extracts specific information from a column of type text or number according to your requirement. The extracted information is written to the result columns.
- Custom: Generates content based on your prompt. Use {column name} in curly brackets to insert the column value of a row.
The “Run AI” automation action is currently available for the following automation triggers:
- When a row is updated
- When a row is added
- At a scheduled time
Automation action: Manage events in Google Calendar
If you select “Manage events in Google Calendar” as an automated action, an appointment from SeaTable is created or updated in a Google calendar when the trigger is triggered. There are a few requirements that must be met for this action to work smoothly:
- First, you must synchronize your Google Calendar account with SeaTable.
- Two date columns must exist in a table, which define the start and end of the dates.
- You also need a text column in which Google can write the event ID so that the appointments can be synchronized.
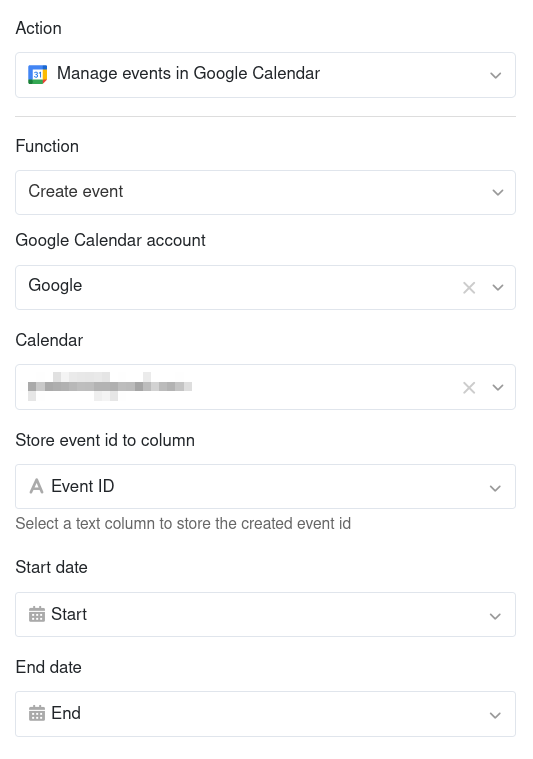
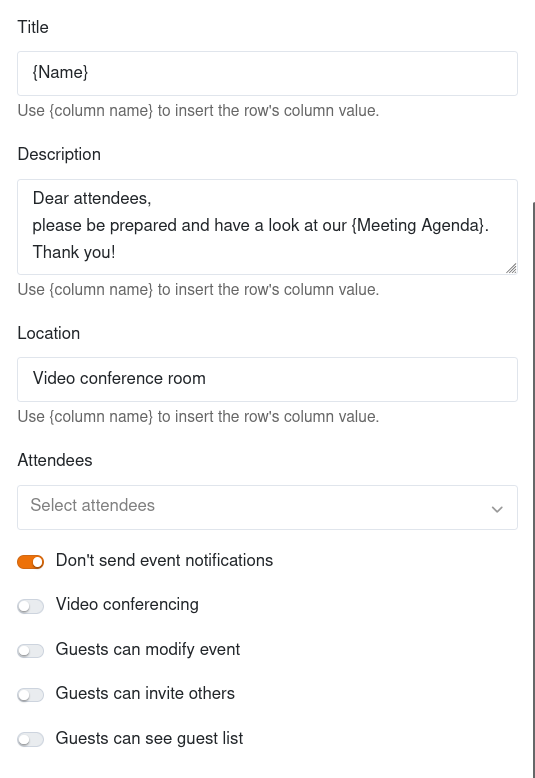
You can also make further settings. Add a title, a description, a location and attendees to the event. To do this, write the details in the text fields or work with column references in curly brackets to insert specific values from the table. By activating the controllers, you can decide whether you want to send notifications, whether it is a video conference and whether guests can modify the event, see the guest list and invite other guests.
The automation action “Manage events in Google Calendar” is currently available for the following automation triggers:
- When a row is updated
- When a row is added
Automation action: Run data processing
If you select the execution of a data processing operation as an automated action, the trigger initiates a predefined data processing operation in the table. You can configure the exact action to be performed in the settings. Depending on the type of operation, certain input and output columns may be required.

You can have the following data processing operations executed with an automation:
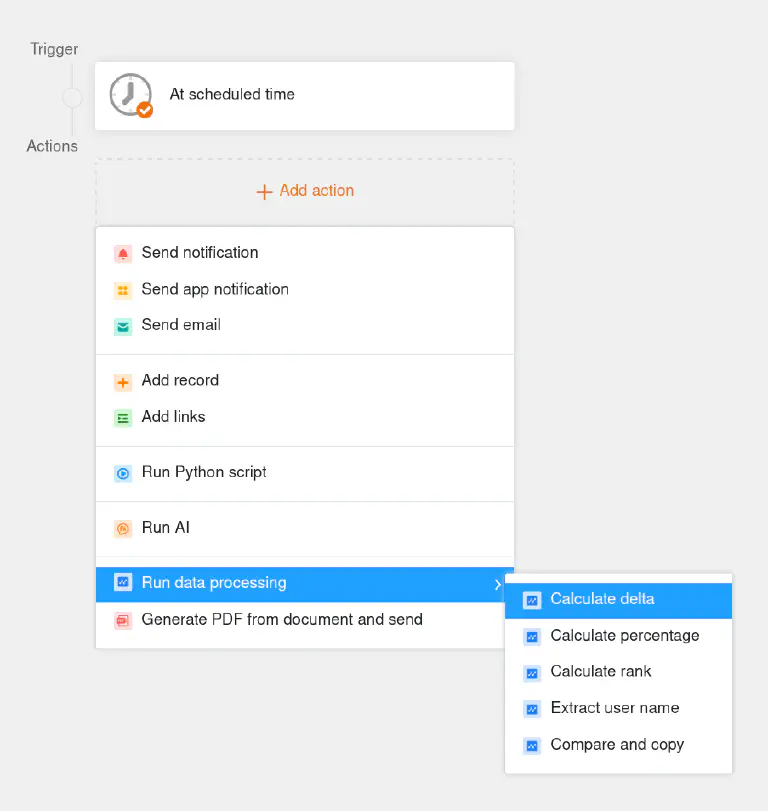
The automation action “Run data processing” is currently available for the following automation trigger:
- At a scheduled time
Automation action: Convert page to PDF
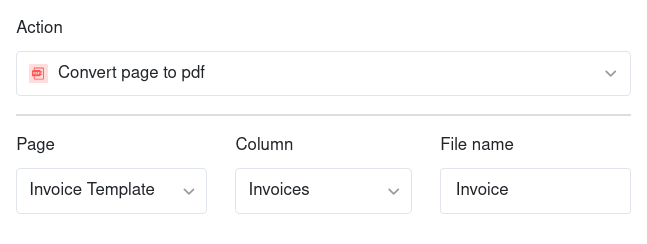
If you select “Convert page to PDF” as an automated action, SeaTable will create a PDF document from the record when the trigger is triggered and save it in a file column . To do this, select a template that you have previously created in the Page design plugin . You can also define the file name in the action settings.
The “Convert page to PDF” automation action is currently available with the following automation trigger:
- At a scheduled time for records that match conditions
Automation action: Generate PDF from document and send
If you select “Generate PDF from document and send” as an automated action, SeaTable will create a PDF document when the trigger is triggered and save it in the file management of the base . SeaTable can also send it directly by e-mail.
In the settings of the action, select a template that you have previously created in the Report design plugin and assign a file name. Then activate the slider to select an own folder in which you would like to save the file. If you only want to generate the document, you can end the configuration at this point.

If you then want to send the generated document, activate the “Send to e-mail” slider. You can edit the e-mail account, recipient, subject and message of the email at any time in the settings of the action.

The automation action “Generate PDF from document and send” is currently available with the following automation trigger:
- At a scheduled time
Automation action: Archive
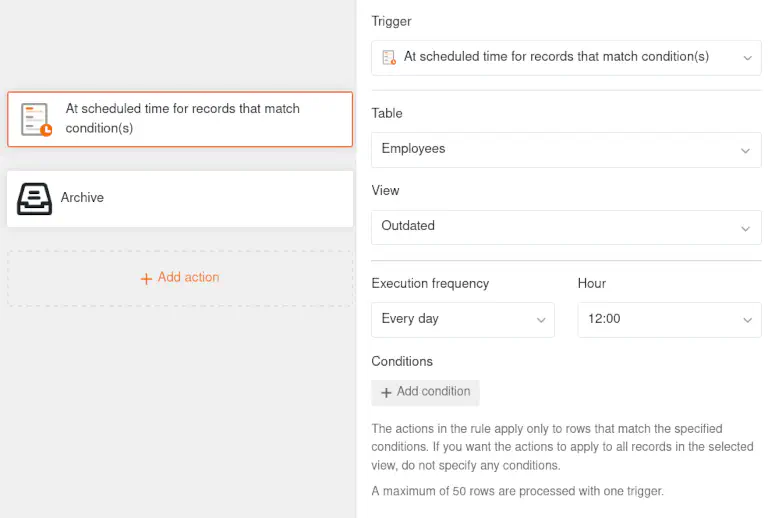
You can use the archive action to automatically move rows to the big data storage . The big data function must of course be activated in the respective base. As you have already defined the view and any filter conditions for the rows to be archived in the trigger settings, you cannot make any settings for the action itself.
The “Archive” automation action is currently available for the following automation triggers:
- At a scheduled time
- At a scheduled time for records that match conditions