Table of Contents
With the help of automations, you no longer have to manually lock rows in your tables, but can have rows perform the automatically. This is very useful if you always want to prevent a row from being processed further from a certain point in time (e.g. when a process has been completed).
Creating the automation
- In the base options, click and then click Automation Rules.
- Click Add Rule.
- Name the automation and specify the table and view in which it should act.
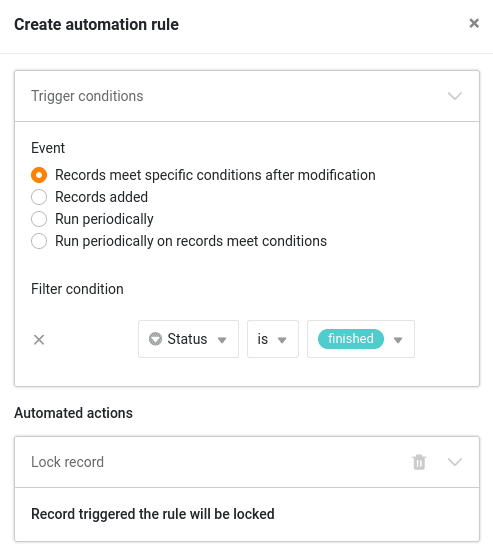
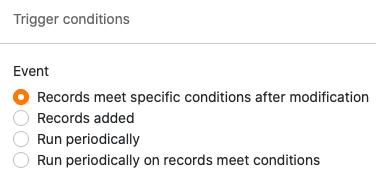
- Define a trigger event that triggers the automation.
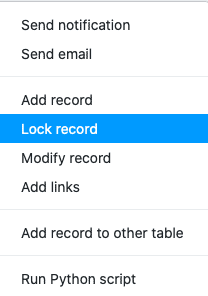
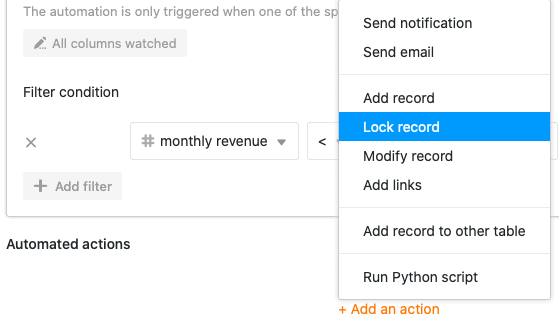
- Click Add Action and select Lock Entry as the automated action.
- Confirm with Submit.
Application example
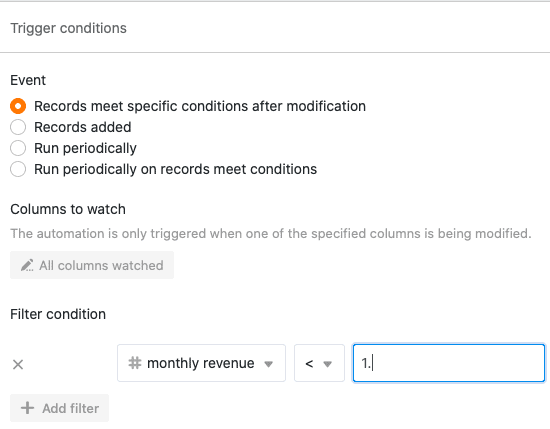
For example, if you want tolock any row in one of your tables where a certain entry reaches a specific value, define the event: Entries meet certain conditions after editing as the automation trigger.
Then set the value and the column in which it must be reached.
Finally, set Lock Entry as the automated action.
From this moment on, the created automation will lock all rows where entries change in such a way that they fulfill the automation rule.

Lock multiple rows at the same time
Automations are extremely useful if you want to lock several rows at the same time. To do this, select the Execute Periodically trigger for entries that meet the conditions and set the appropriate conditions. Instead of setting the execution frequency and time, click Execute Now below to immediately lock all the desired rows .
For more information on blocking rows , see the article Blocking a row.
More helpful articles in the Automations section:
- Overview of automations
- How automation works
- Create an automation
- Manage and edit automations
- Stop automations
- Delete automations
- Show execution log of an automation
- Why can’t I find automations in my base?
- Automation trigger
- Automation actions
- Linking entries via automation