Table of Contents
SeaTable formulas offer you several ways to work with the data in your tables. One possibility is the conditional filling of values using If operators.
By entering a corresponding formula, you can have the values in the formula column - depending on the data in other table columns - filled automatically.
Logical if operators
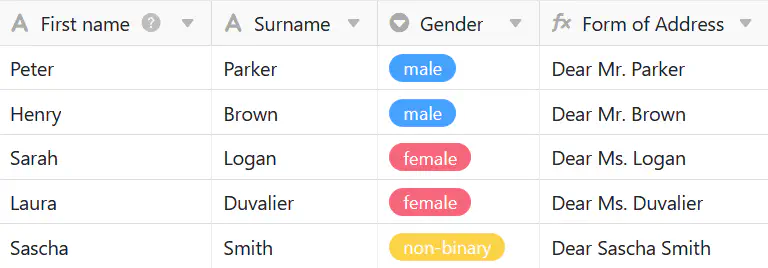
In the concrete example, the goal is to use a formula to automatically capture the salutation of different customers, depending on their gender, in a formula column.
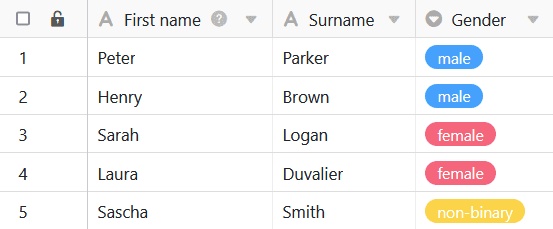
To do this, first add a formula column to the table, in whose editor you can then insert the formula.

To automatically collect the gender-specific salutation of the customers in the formula column, first add an If operator to the formula. You can find this in the formula editor under the Logical functions tab. If operators check whether the entry in a selected column meets the conditions defined in advance and return a corresponding value depending on the positive or negative result.

In the next step, you define the conditions that must apply in the desired column so that the formula column is automatically filled with the appropriate values.
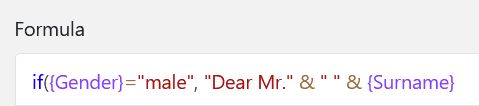
To do this, you must first refer to the concrete column in which the condition must apply. The column name must be framed with curly brackets.

Directly after the “Gender” column, first set a desired operator. If the column must contain an exact value, use the operator = (is equal to), for example. You can also find the operators on the left in the formula editor.
After the operator, define the concrete conditions that must apply in the column so that the formula column is automatically filled with the corresponding salutation. First write the value that must be present in the “Gender” column in quotation marks in the formula. Separated by a comma, the salutation follows, also in quotation marks, which is inserted into the formula column.
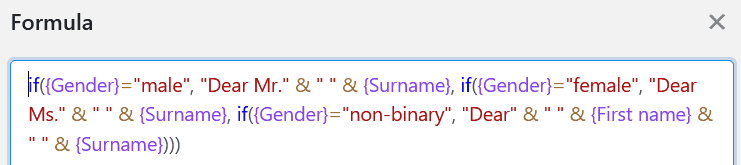
To populate the salutation with the respective names, reference the “First Name” and/or “Last Name” columns with curly braces. Learn more about merging text columns using a formula .
You can then repeat the steps described for defining a condition for each value in the “Gender” column. The different conditions must always be separated by a comma. Before confirming, it is important that you close all brackets so that the formula is accepted as valid.
After confirming the entered formula, the values defined for each condition are automatically written to the formula column of your table.