Table of Contents
The Button column has a similar function to automations , where you always have to operate buttons manually. Using the button you can add in this column to your rows you trigger actions defined in advance. For this reason, this type of column is particularly suitable for automating process steps.
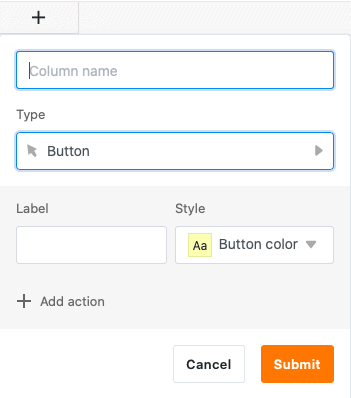
Creating the button
First, name the column and set the label and color of the button you want to add to your rows .
In the next step, you define any number of actions that are to be triggered by activating the button. Thereby you have the possibility to switch several actions one after the other.
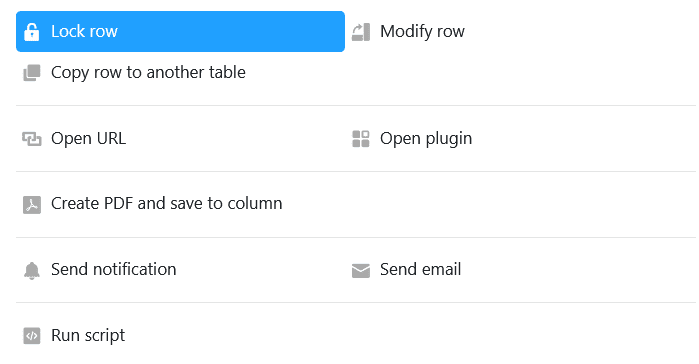
You can choose between nine different actions in total:
- row lock
- row edit
- row copy to another table
- Open URL
- Open plugin (only possible if you have activated at least one plugin )
- Save PDF file in column (only possible if page design plugin is enabled)
- Send notification
- Send e-mail
- Run script
Application example
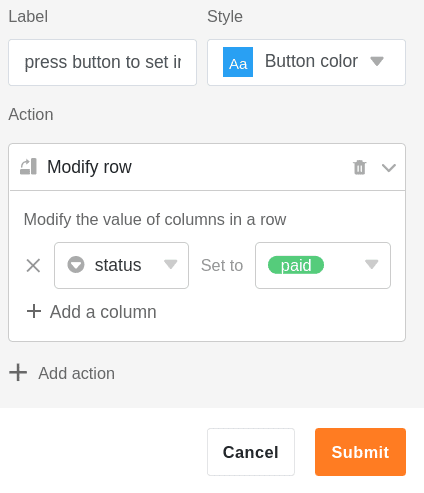
In this application example we use the button to assign the status “paid” to paid invoices by mouse click. For this purpose we take the action row edit.

In the column settings we specify that the entries in the single-selection column “status” are set from “pending” to “paid ” by activating the button.
After clicking the button, the status of the selected invoice changes to paid.
Additional option
To extend the automation of process steps, you can also use buttons in combination with automations them for processing.
