Table of Contents
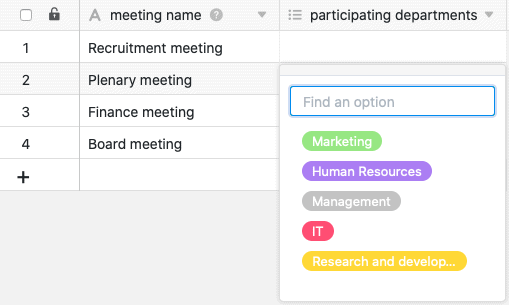
A multiple select column is ideal if you want to assign your rows in a column several options from a list of options to be defined. The options are given colorful labels that you can use to label your records and make tables clear, for example, by filtering for specific options.
Create a multiple select column
Creating a multiple select column is easy as pie and done with just a few clicks. For detailed information, see Add a column .
- Click the [+] icon to the right of the last column of any table.
- Give the new column a name.
- Select Multiple select as the column type.
- Confirm with Submit.
Similarities with the single select column
Add multiple select options
Adding options to a multi-select column works in exactly the same way as with a single-select column. You can add new options in several ways. Find out all about this in the help article on the single select column .
Exporting and importing multiple select options
You can export and import the options of a multi-select column in the same way as a single-select column. You can find more information on this in the article on the single select column.
Colors of the options
As with the single select column, 24 colors are currently available to visually highlight the selection options.
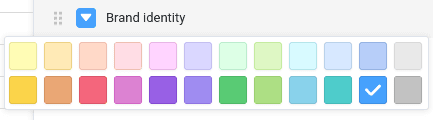
With an Enterprise subscription , you also have the ability to create custom colors for your multiple select options.
Change the order of multiple select options
The order of the options can be adjusted in the same way as for a single select column. It is of crucial importance if you want to sort or group by the multi-select column. This is because SeaTable does not arrange the options alphabetically, but flexibly according to the order of the options, which you define using drag-and-drop.
Set default value
In contrast to the single select column, you cannot set a default value for a multiple select column.
Multiple select or link to other records?
If you want to be able to save additional information for each selection option, you should consider using a link column instead of a multiple select column. To do this, create complete data records for all options in a separate table, which you can link to any number of rows in other tables.