Table of Contents
With the help of an image column you can upload, save and manage new images in your tables with just a few clicks.
How to create an image column
- Click the [+] symbol to the right of the last column in your table.
- Give the column a name in the upper field.
- Select the Image column type from the drop-down menu.
- Confirm with Submit.
Add images
In an image column, you have several options for adding images. Here’s how:
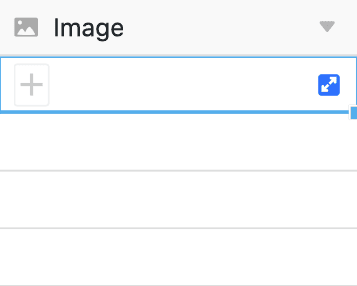
- Click in the cell of an image column.
- Click on the plus icon that appears.
- A new window will open. Here you can upload images from your device, embed them via URL or add them from the file manager .
Local images
In the Local Images section you can click in the field with the Add Documents icon, select one or more image files on your device and upload them to the Image column.
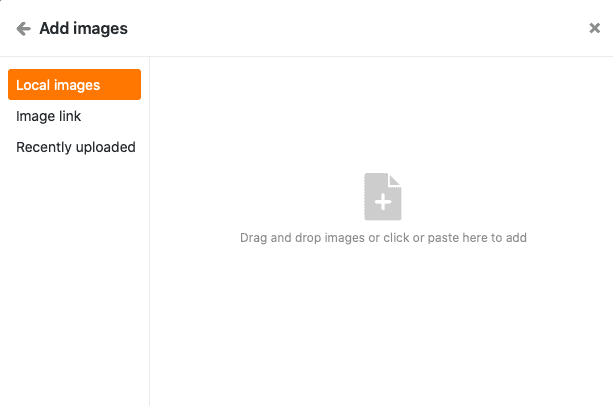
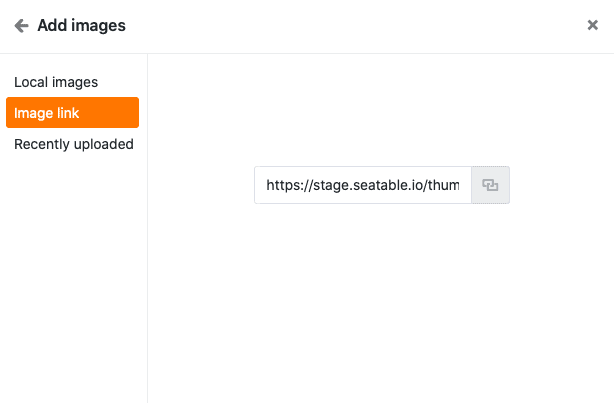
Image link
In the Image Link section you can add images to the image column by entering the image URL. To do this, paste the URL into the empty field and click the link icon .
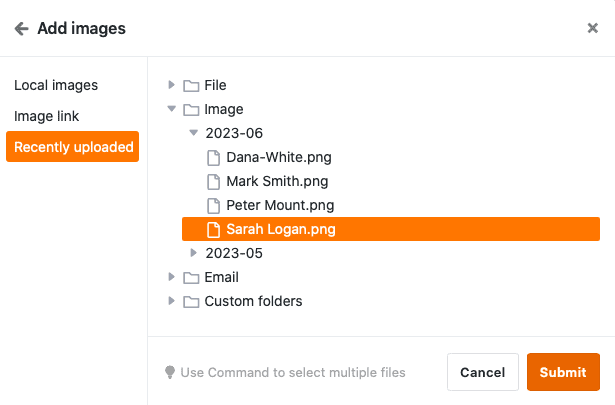
Last uploaded
In the Recently uploaded section, you have access to the file management of the base. Images that you have already uploaded to image or file columns or to your own folders are saved there. Select an image and insert it into the image column by clicking Submit.
By drag and drop
You can also insert images directly into a table. To do this, select any number of images on your device and drag them into the cell of an image column while holding down the mouse button.

Preview image files
As soon as you insert an image file into the image column, the uploaded image is displayed as a reduced thumb nail. You can enlarge this thumbnail by double-clicking on the displayed image.
In full screen mode, you can zoom in and out of the images using the magnifying glasses and switch between multiple images in a row or column using the arrows. You can also delete or download the displayed image file using the and icons.
Image management
In addition to uploading images, you also have various options for managing your images in an image column.
Download images
You can download images stored in an image column with just a few clicks. To do this, first double-click in a cell that already contains images or on the blue double arrow icon.
Then select the desired image and click on the download icon in the image.

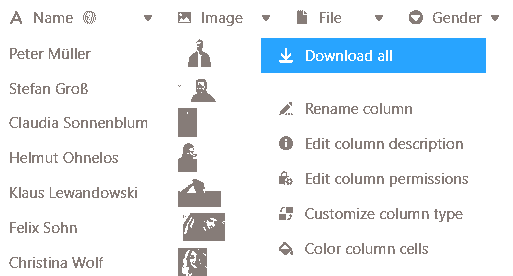
If you want to download all images in a column, open the drop-down menu above the column header and select Download all.
You can then specify your own file name and the number of files contained in the export will be displayed.
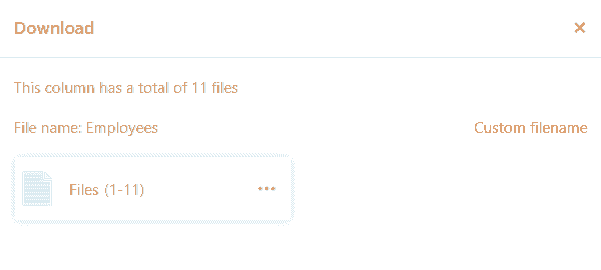
If you click on the three dots, you have two options for saving the file: A download will save a zip file on your device from which you can extract all the images. You can also save the images in Seafile. To do this, you must first connect a Seafile library to your base .
Delete images
You can also delete all images that are stored in an image column. To do this, first double-click in a cell that already contains images or on the blue double arrow symbol.
Then select the desired image and click on the icon. Confirm the process by clicking Delete.