Table of Contents
File management revolutionizes the way you handle files in your base. You can upload, rename, copy, move, download and delete files there directly. You can even create new documents (e.g. Excel, Word or PowerPoint files) and edit them using the integrated editor.
In this overview article you will find all information on the structure and individual functions of the file manager.
Overview of file management
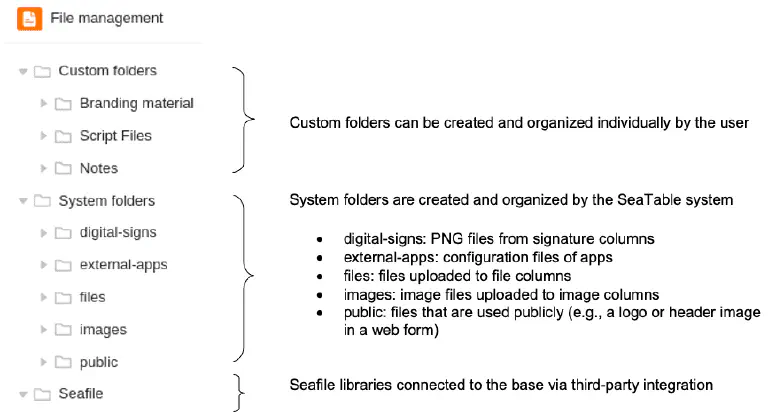
The file manager contains various folders, which in turn contain various files. A basic distinction can be made between three folder types:
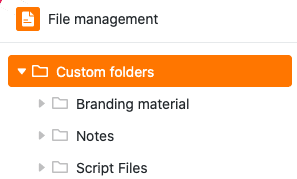
- Custom folders are independent from the structure of a base and can be freely created and organized by the user.
- System folders are automatically created by SeaTable when you create specific columns, apps or web forms. They contain files .

- A Seafile folder contains all the files that you have previously uploaded to the external cloud storage of the same name. How exactly the integration of Seafile libraries works and what advantages it brings, you can learn here .

The following diagram shows an overview of the complete folder structure of the file manager:
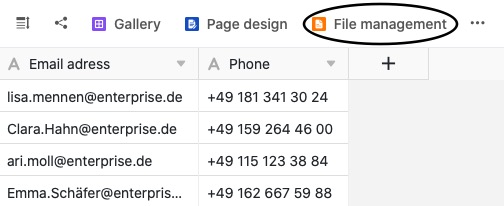
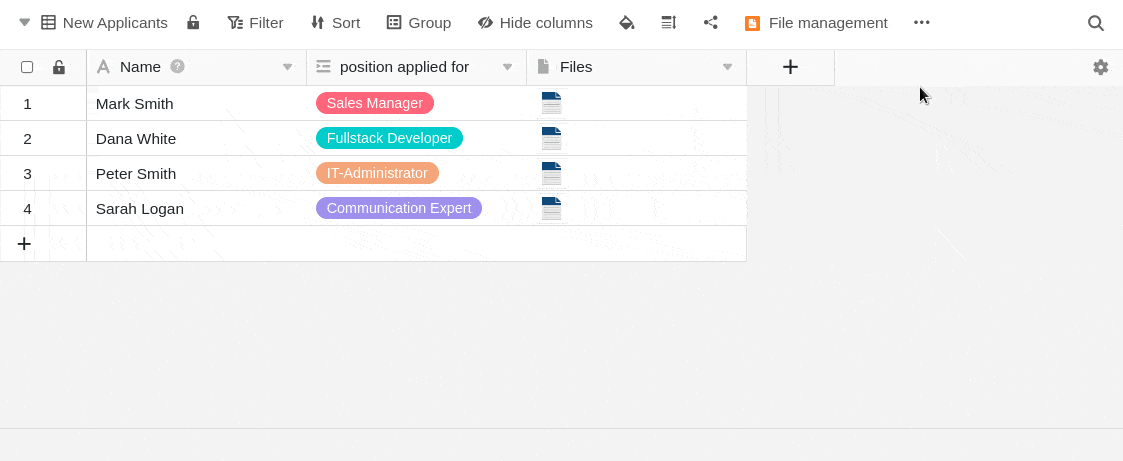
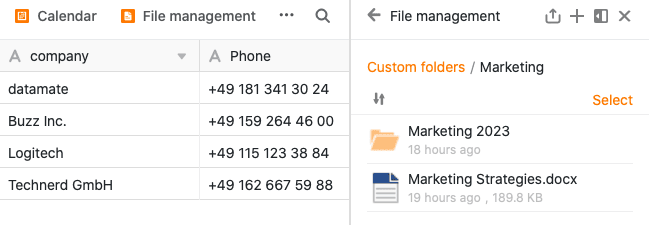
Accessing the file manager
- Open a base where you want to manage files.
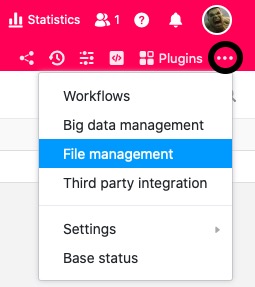
- Click on the three dots in the base header to open the advanced base options.
- Go to File Management.
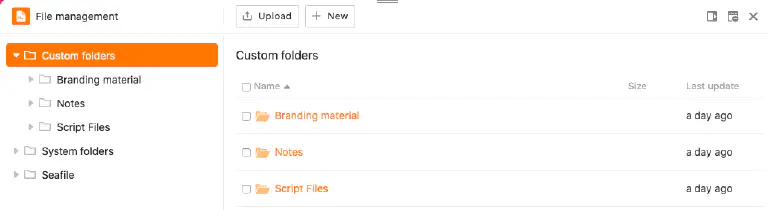
- A resizable window with the folder structure then opens automatically - the base file management.
You can also add the file manager to the toolbar by clicking on the middle icon at the top right of the window.
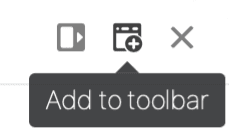
This means you can always access the file manager with just one click from your toolbar.
If you want to remove the file manager from your toolbar, simply click on the icon at the edge of the window again.
Adjust window size and position of the file manager
You can adjust the window size of the file manager so that you can keep an eye on your tables and data while managing your files and drag files from the file manager directly into the appropriate columns of your tables.
To do this, simply open the file manager and move the mouse pointer over the two lines at the top of the window until a double arrow appears. Then hold down the mouse button and drag the window to the desired position and release as soon as this is reached.
In addition to adjusting the window size, you also have the option of pinning the file manager to the right-hand side of the page. To do this, click on the first icon from the left at the top right-hand edge.
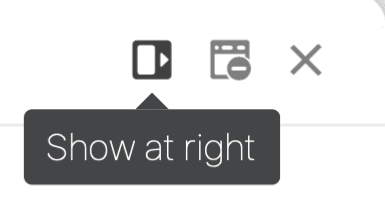
The file manager then appears in a window on the right-hand side of the page.
You can pin the file manager to the bottom edge again in the same way.
The various file management functions in detail
Various management options are available to you within the file management.
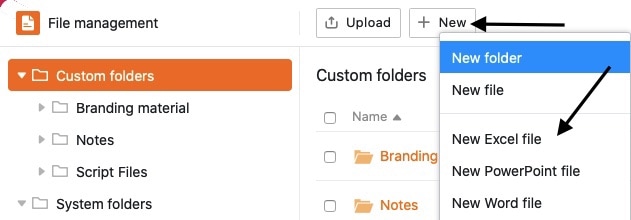
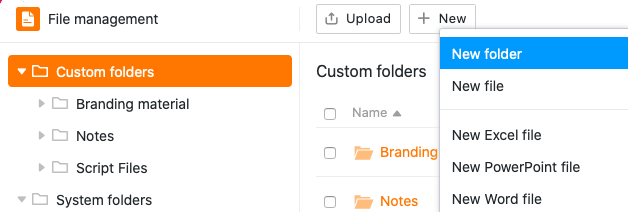
Create a new file in the file manager
You can create and edit new files directly in the file manager with just a few clicks. To do this, first click on New and then select either the New file option or the various file types available for selection.
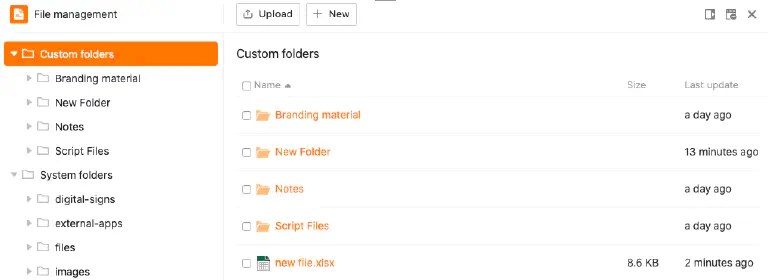
The newly created file will then appear in its own corresponding folder. Click the file name to open and edit the file in the editor.
Create your own folder in the file manager
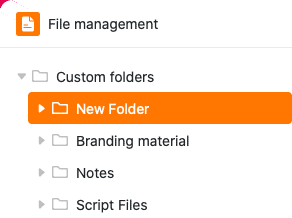
In addition to files, you can also create your own folders directly in the file manager. To do this, click on New in the My folders area and then select the New folder option.
The newly created folder will be added to the navigation in the My Folders section afterwards.
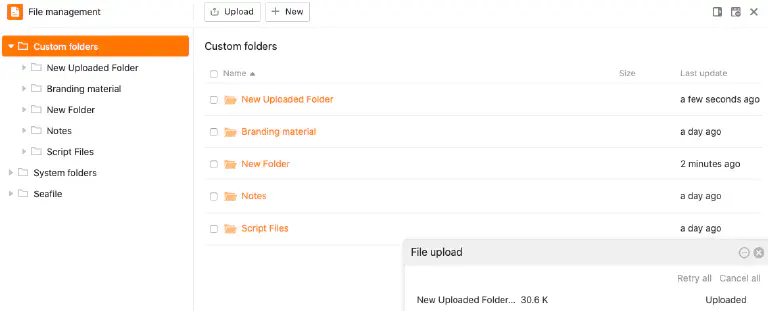
Upload files and folders to the file manager
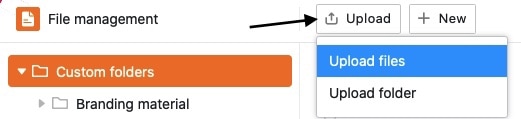
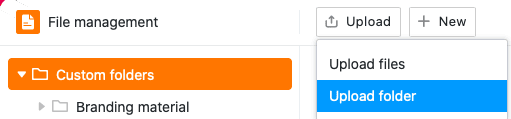
You can also upload files saved on your device to the file manager with just a few clicks. To do this, first click on Upload and then select the Upload files option.
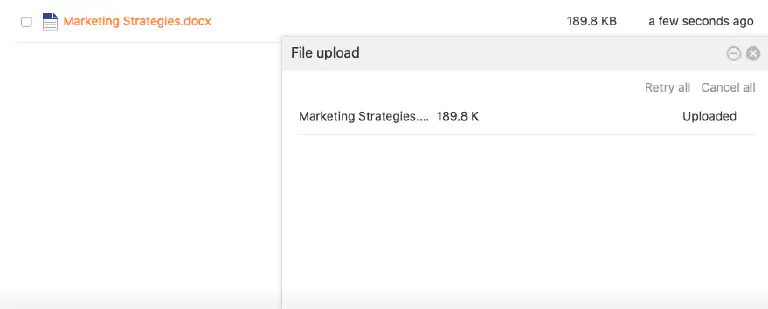
Files uploaded in the file manager are always saved in your own folders. In addition, an upload window opens, which shows the progress of large amounts of data and in which you can cancel or repeat the upload if necessary.
In addition to uploading files, you also have the option of uploading entire folders with files to the file manager.
Uploaded folders are always automatically added to My Folders.
Drag and drop files to appropriate table columns
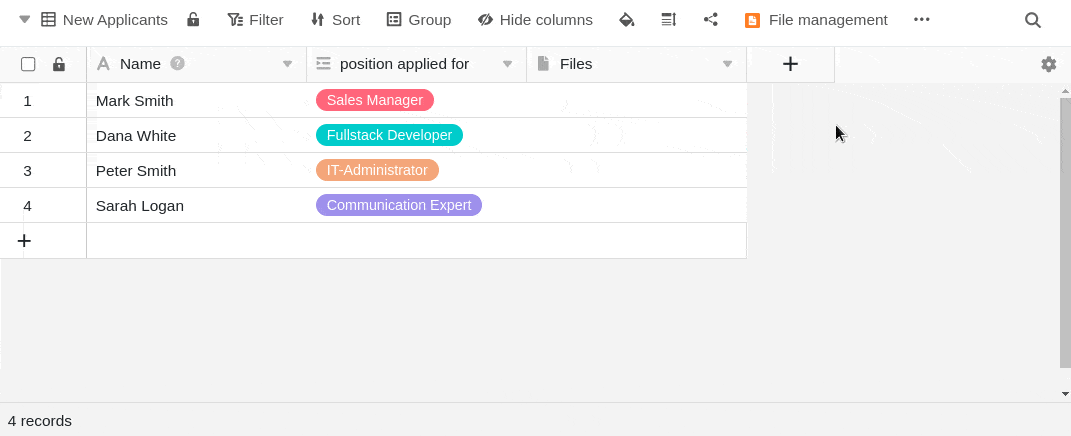
Another useful function of the file manager is the convenient moving of files. You can not only drag and drop files into the file manager, but also insert them from the file manager into file columns in the table.
Rename a file or folder
You can rename both files and folders in the My Folders section with just a few clicks. Just hover over a file or folder, click the three dots that appear and select Rename.

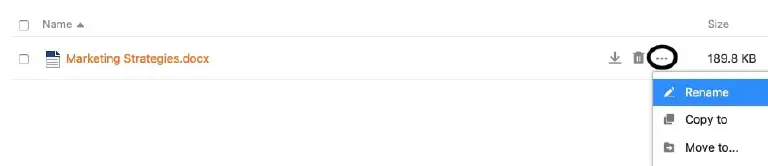
Then enter the new name of the file or folder in the text field and confirm it with the Enter key.
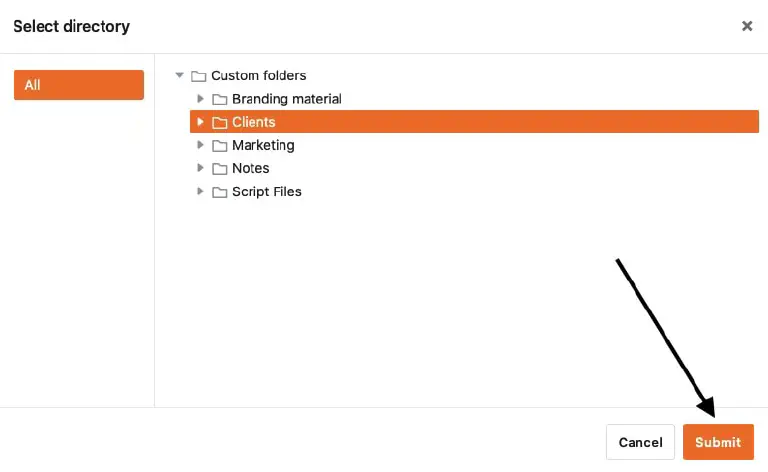
Copy a file to a folder
A file can be copied to its own folder with just a few clicks. The copied file is then available in both the source folder and the destination folder.
To do this, simply hover your mouse over a file, click on the three dots that appear and select Copy To.
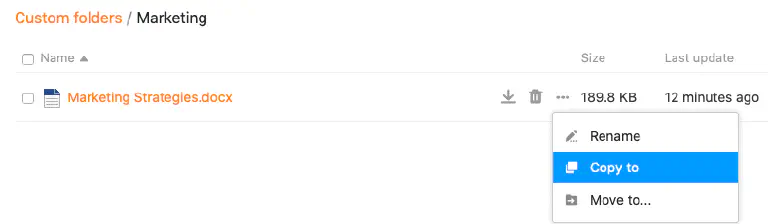
Then select the destination folder and confirm with Submit.
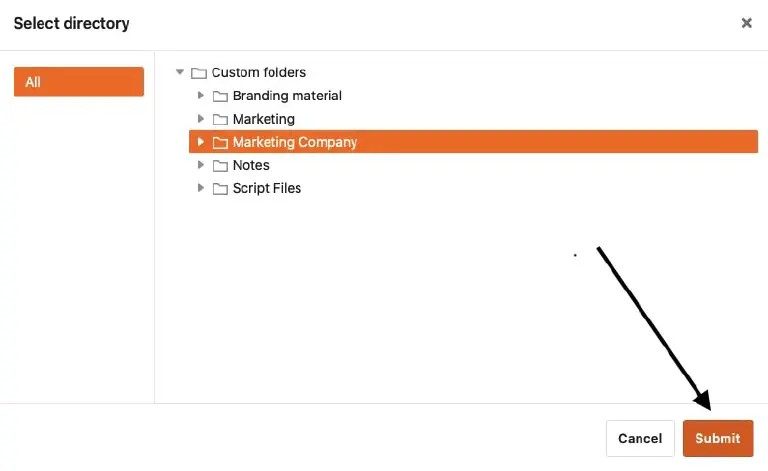
Copy an own folder to another folder
Congruent to copying files, you can also copy your own folders to another folder with just a few clicks. The copied folder is then available both at the original location and at the destination.
To do this, simply hover your mouse over a folder of your own, click on the three dots that appear and select Copy to.
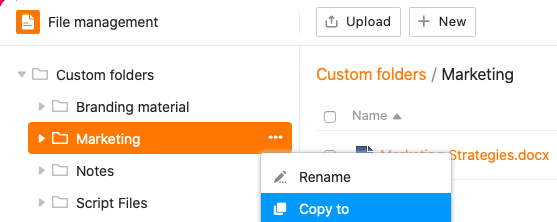
Then select the destination folder and confirm with Submit.
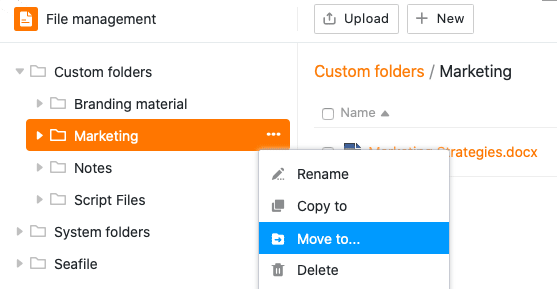
Move files to a folder
A file can be moved to its own folder with just a few clicks. The moved file is no longer available in the original folder, but only in the destination folder.
To do this, simply hover over a file, click on the three dots that appear, and select Move View.
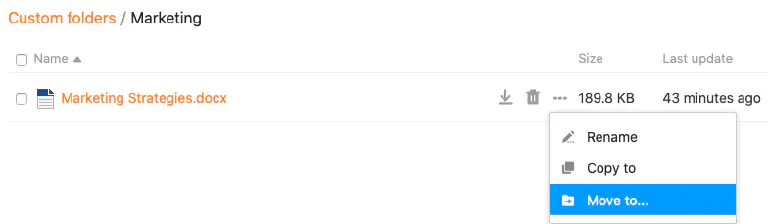
Then select the destination folder and confirm with Submit.
Move an own folder to another folder
In the same way as moving files, folders in the file manager can also be moved to another folder with just a few clicks. The moved folder is then no longer available in its original location, but only in the target folder.
To do this, simply hover over a folder, click on the three dots and select Move View.
Then select the destination folder and confirm with Submit.
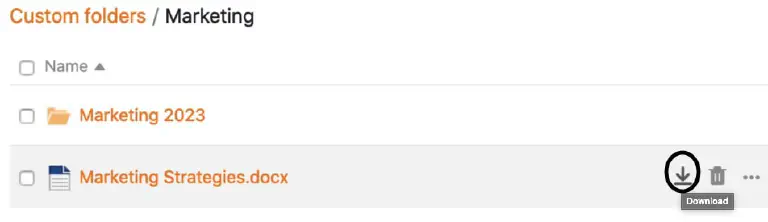
Download files
You can download all files from the file manager at any time with just a few clicks. Use this function to back up important files on your device.
Hover your mouse over a file and click the download icon . The selected file will then be automatically saved on your device.
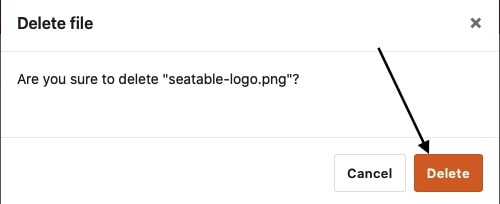
Delete and restore files
You can delete any file from the file manager with just a few clicks. Simply move the mouse over a file and click on the trash icon.

Then confirm the process again with Delete.
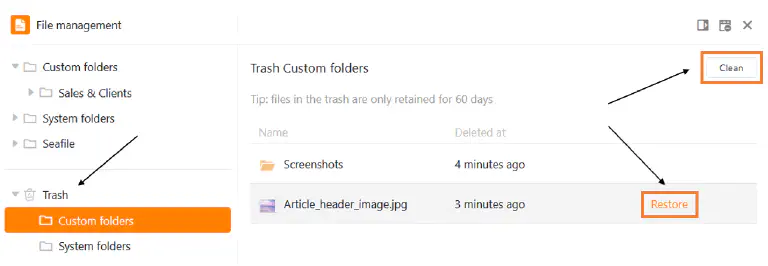
Files that you delete from the file manager also disappear from your base (e.g. from signature, file, image columns, web forms or universal apps) and end up in the trash, where they remain for 60 days.
If you want to restore a file from the trash, for example because it was accidentally deleted, click Restore. You will then find the file in the folder where it was before it was deleted. When you empty the trash, all deleted files and folders are lost permanently.
Delete and restore folder
You can delete your own folders in the file manager at any time with just a few clicks. To do this, move the mouse over any folder in the navigation bar, click on the three dots that appear and select Delete.
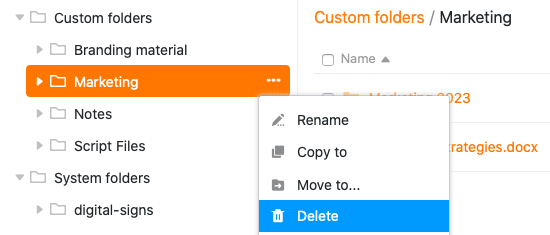
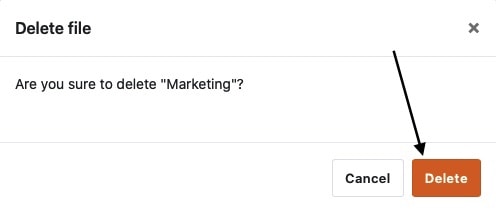
Confirm the deletion afterwards with Delete.
In general, you can also delete subfolders in another way. To do this, first click on the folder in which the folder you want to delete is located. You will now get an overview with all folders and files that are located in the selected folder. Move the mouse over the folder you want to delete and click on the trash can icon.
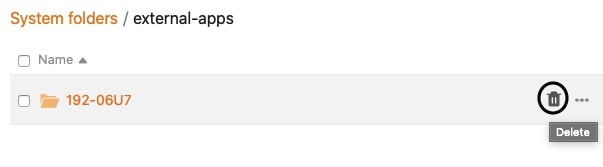
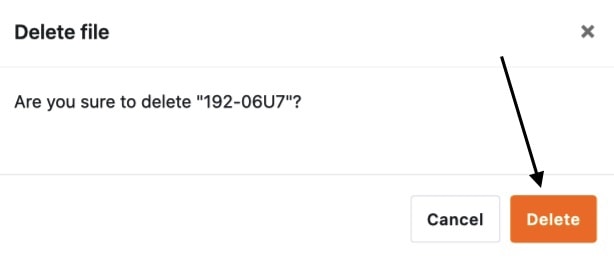
Confirm the operation with Delete.
Folders that you delete from the file manager end up in the trash, where they remain for 60 days.
If you want to restore a folder from the trash, for example because you accidentally deleted it, click Restore. The folder will then appear where it was before you deleted it. When you empty the trash, all deleted files and folders are lost permanently.