Table of Contents
If you have created a text column with addresses or place names in your table or used the Geoposition column type, you can use the Map plugin to display the locations entered in the column.
To activate the plugin, follow the instructions in the article Activating a Plugin in a base .
Map plugin functions
Zoom
To zoom, use the plus/minus icon in the upper left corner or simply turn the mouse wheel.

Change map section
Move the map section by clicking and dragging with the mouse.
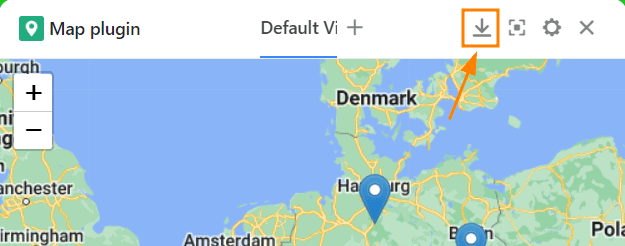
Download map
Download the map section as an image file by clicking on the download button.
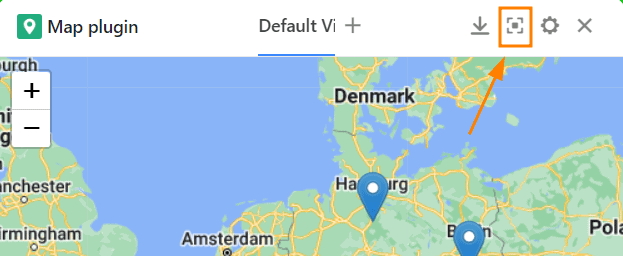
Full screen mode
Enlarge the map plugin window so that it occupies the entire user interface by pressing .
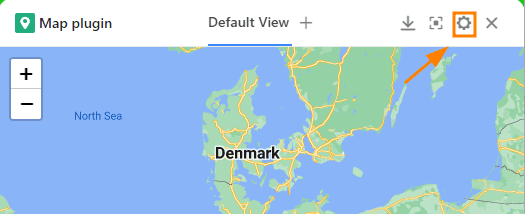
Settings options of the map plugin
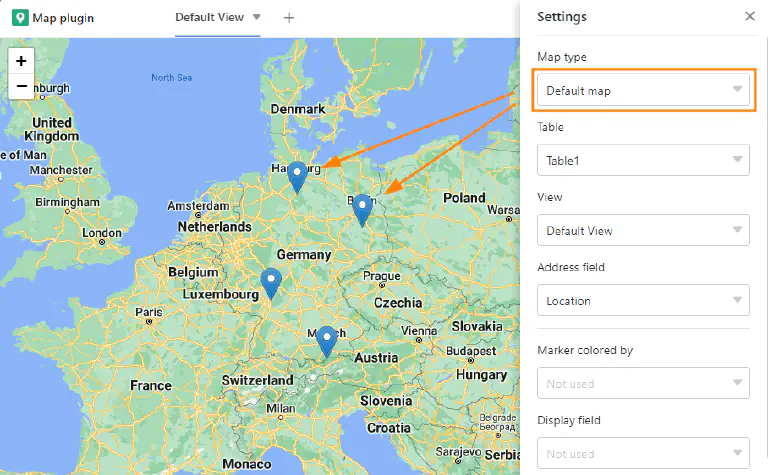
Click the gear icon to open the settings.
You have the following setting options:
- Card type
- Table and view
- Address line
- Marker color
- Display field
Card type
Decide between the default display with location pins or use images to mark the locations.
If you choose to display images, you must specify the image column from which to display the images.
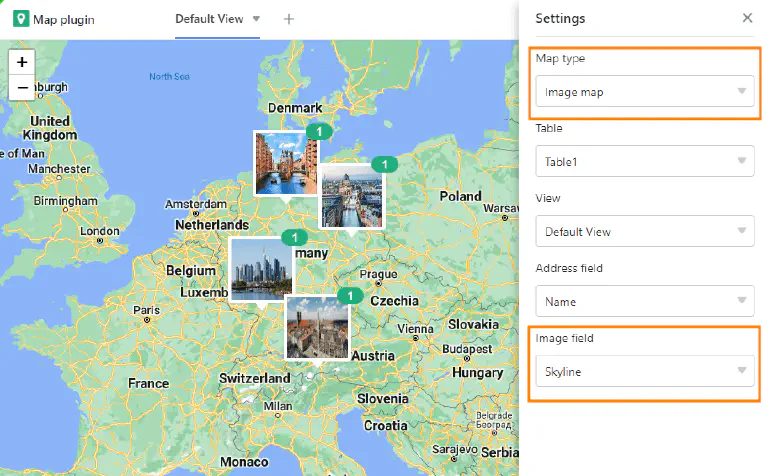
Table and view
If you have created multiple tables in your base, you can select which table to use at this point. The same applies to views.
Address line
Specify here a text column where you have entered addresses or place names, or a geo-location column from which to display the locations on the map. Note that the map plugin will only work if you have used a column of this type in your table.
Marker color
If you have single-select columns with colored options or color-marked rows in the table, you can select at this point which of these should determine the color of the map markers.
Display field
Up to now, you have to move the mouse pointer over a map marker to make its label visible. If you want to label the locations permanently, you can define a column here from which the respective entries are displayed next to the location pins.

Create multiple cards
- Click the plus icon to the right of the title of your first card.
- Give the card a name and confirm with Submit.
- In the settings, specify which table view and which column the new map should refer to.